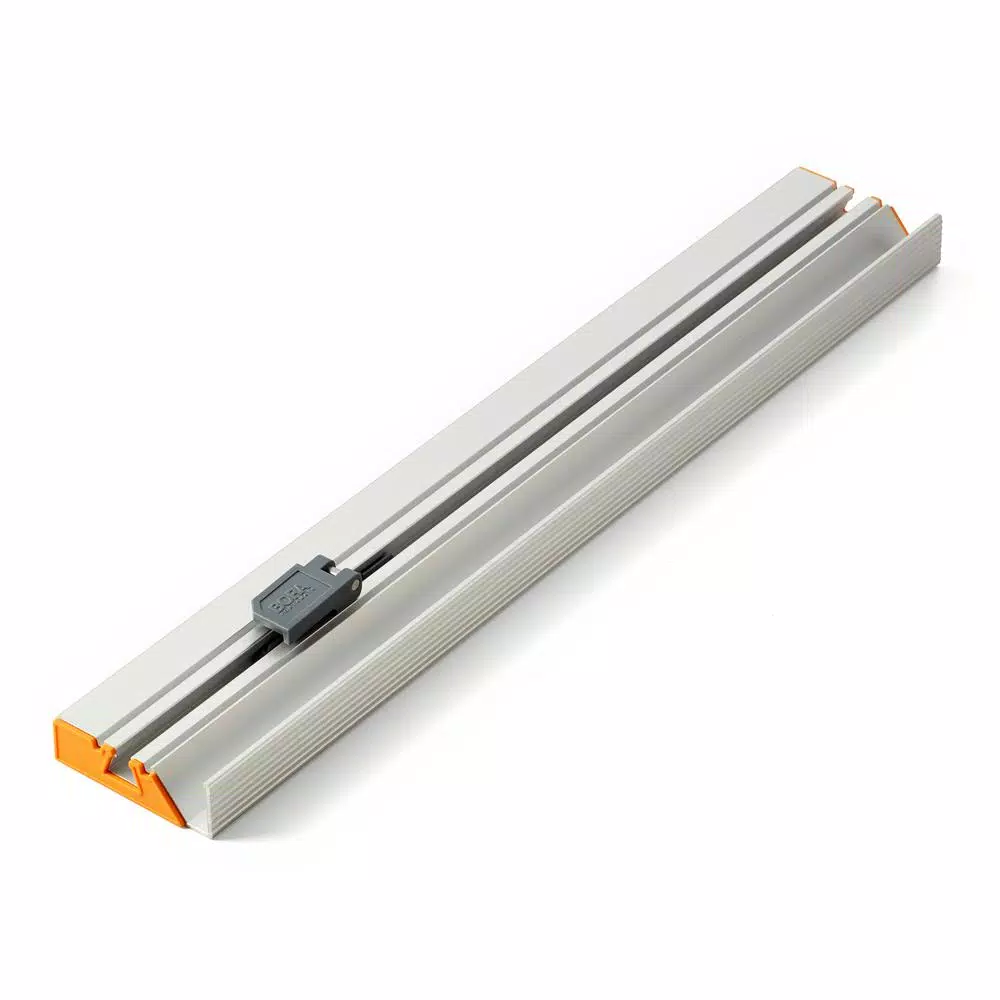
BORA NGX T-Square Clamp Edge Accessory
$24.99
Expand a comfortable and simple addition to work through precising cutting jobs with ease by choosing this BORA NGX T-Square Clamp Edge Accessory.
In stock
Description
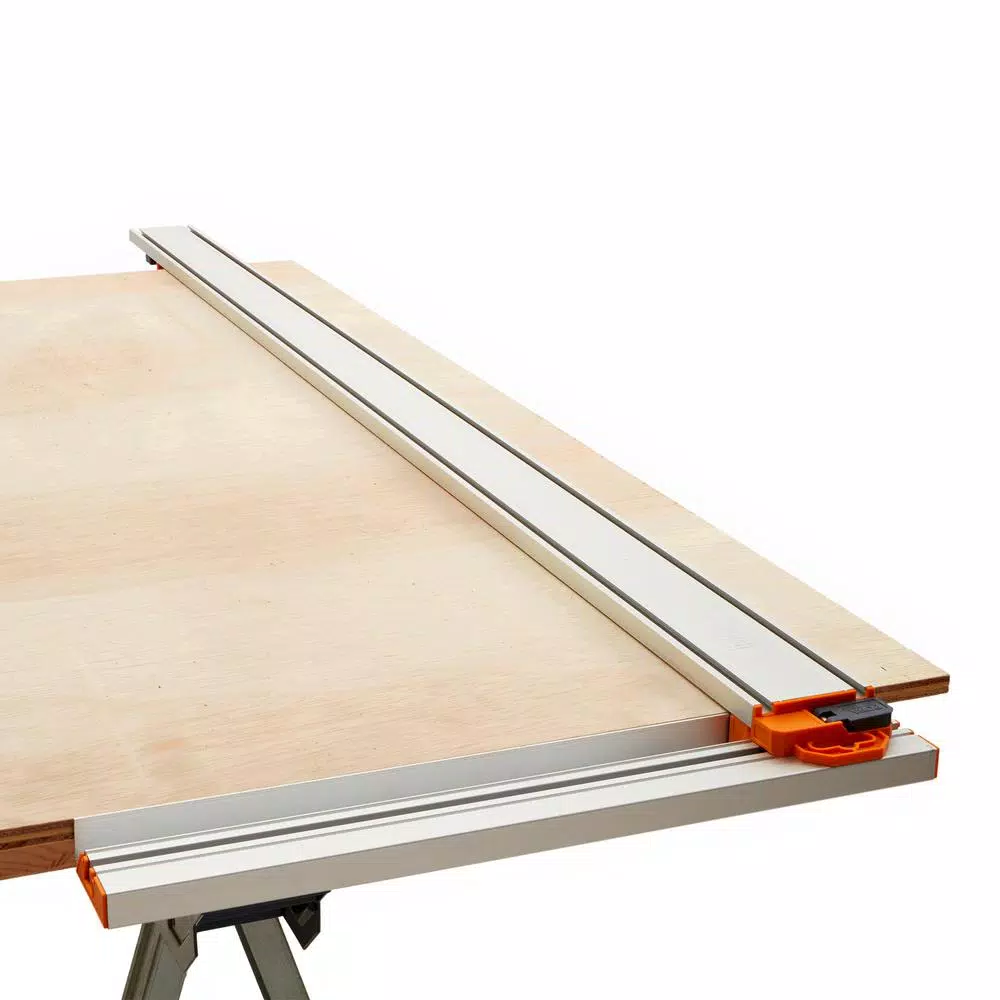
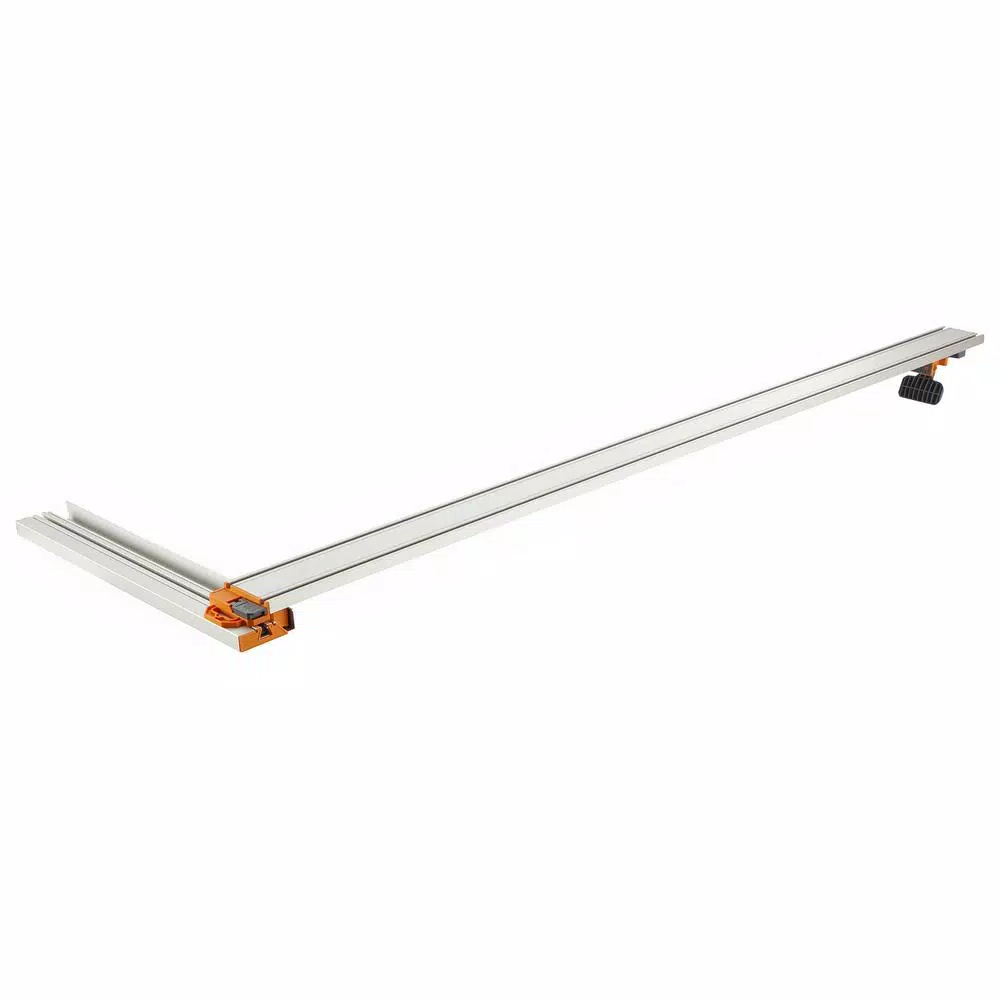
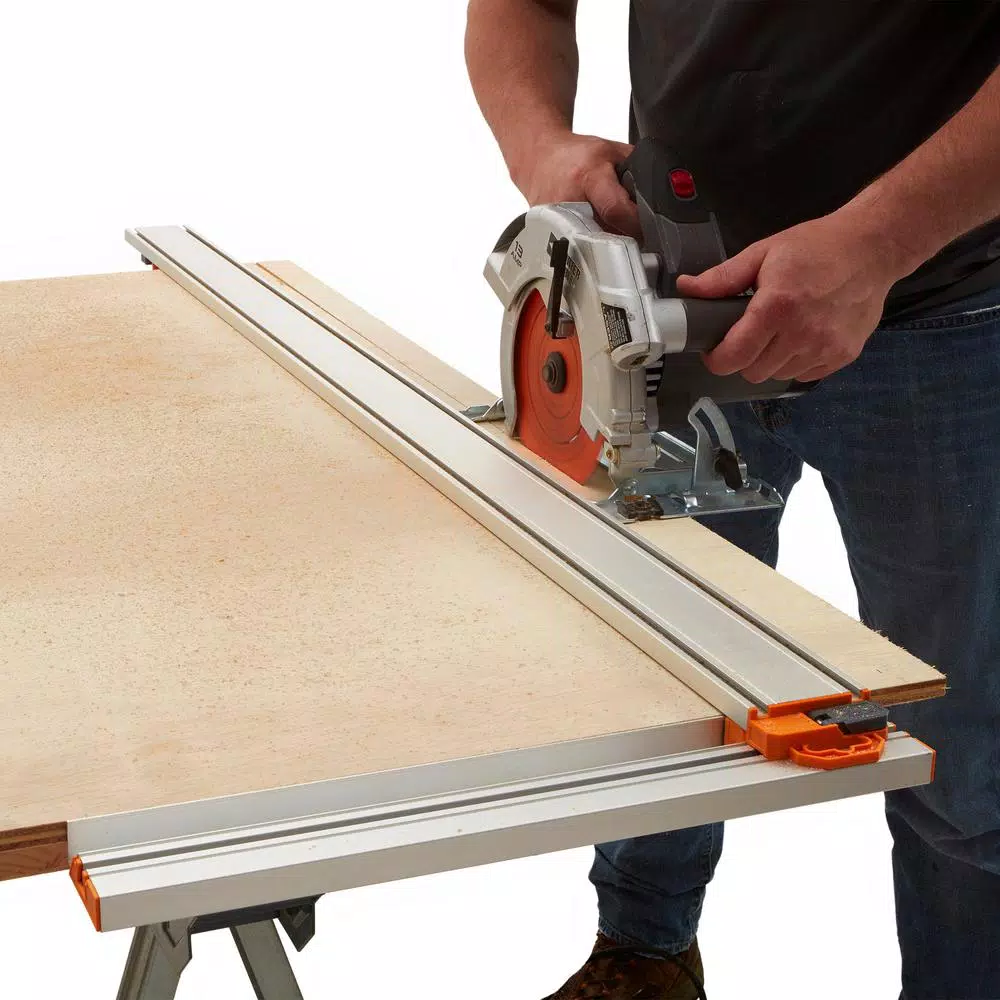
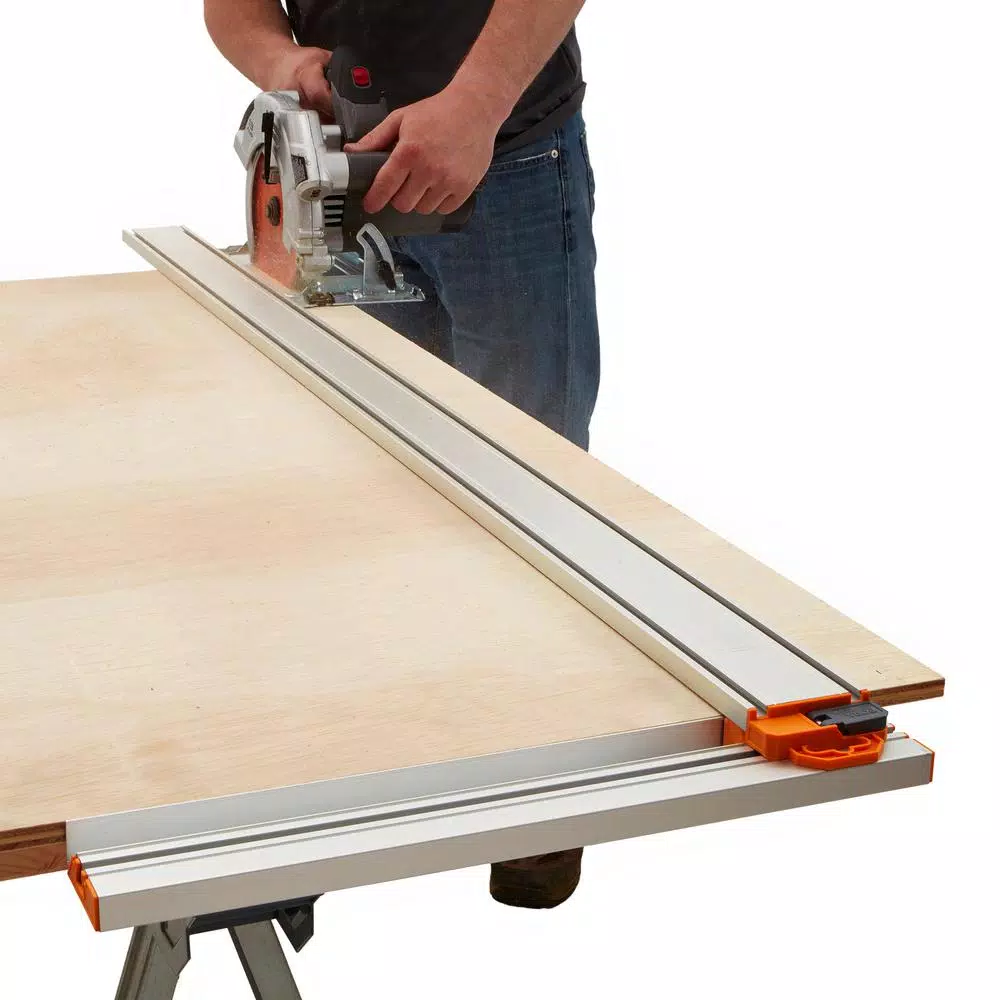
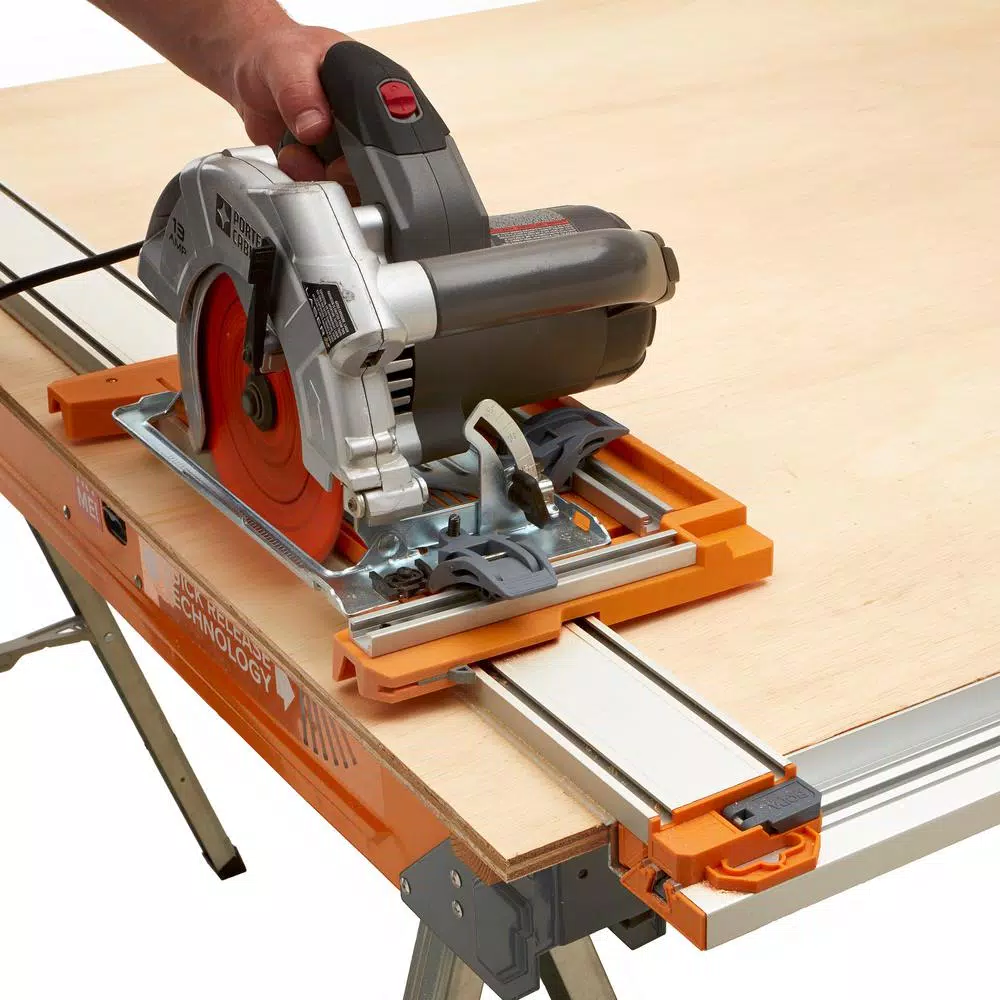
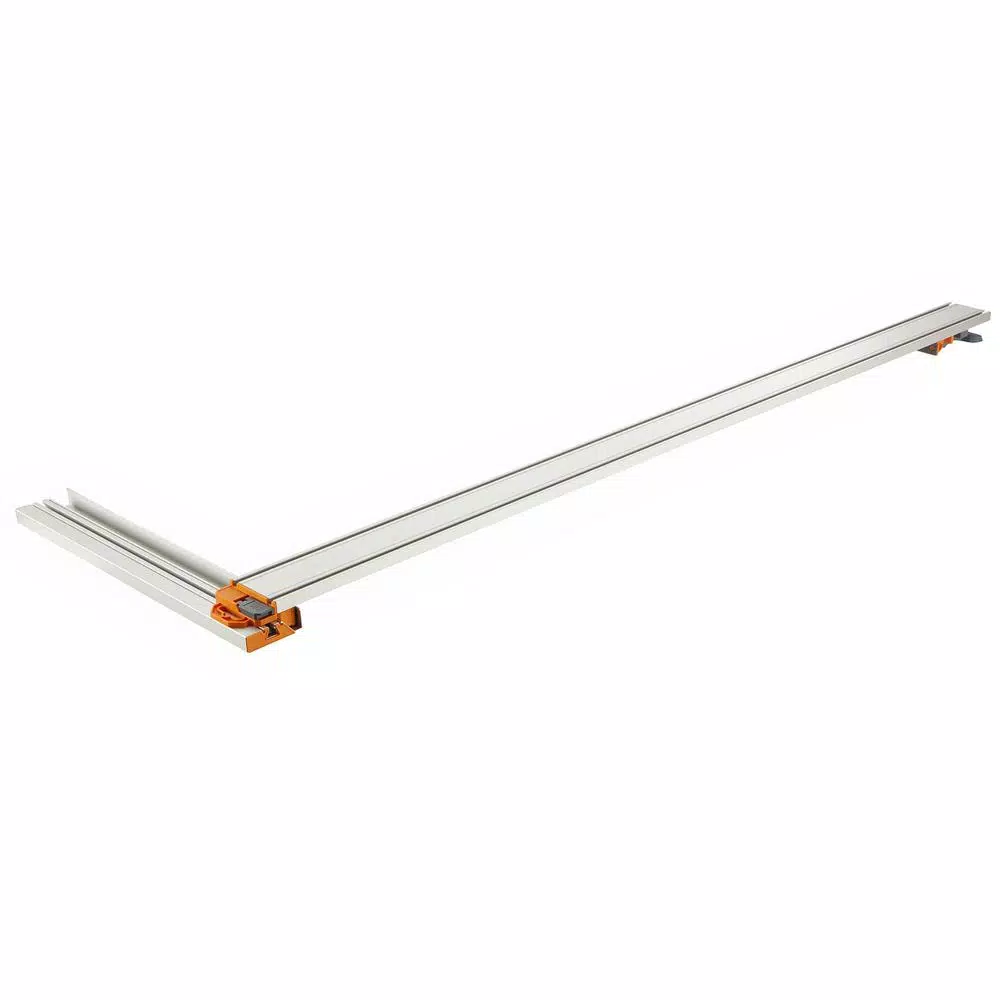
If you’ve ever started breaking down plywood before realizing your clamp edge isn’t square to the material, you know what a pain it is to go back and fix each piece. The NGX T-Square makes it simple to square up your clamp edge without ever having to measure or move to the other side of your material. By replicating the way a table saw fence works, this accessory helps your NGX Clamp Edge stay square to your material adding a level of precision to your work.
- Squares your clamp edge to the material you are cutting
- Trapezoidal wedge system makes it easy to connect components
- Precision aluminum extrusion profile perfectly matches clamp edge fixed head
- Fits all sizes of NGX clamp edge
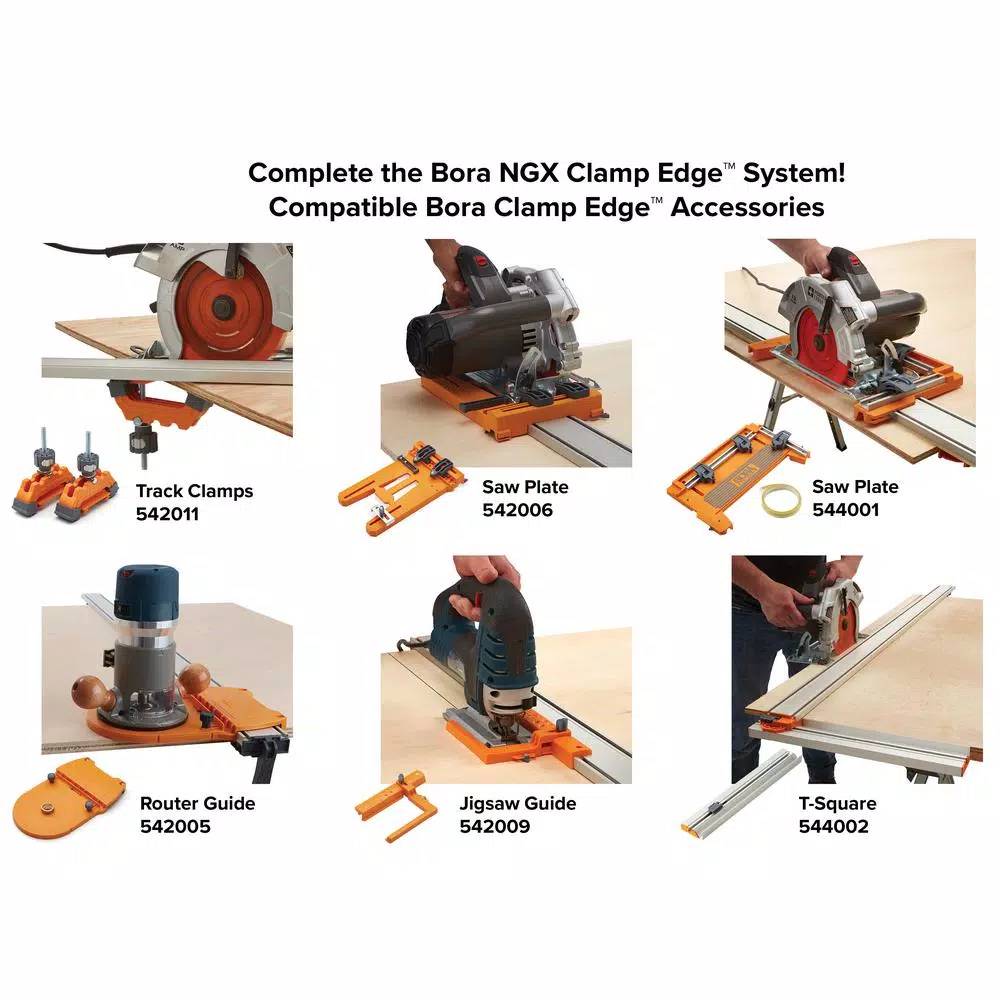
- Part of the NGX clamp edge system to cut and rip sheets and boards
WARNING: This product can expose you to chemicals including arsenic, which is known to the State of California to cause cancer. For more information, go to www.P65Warnings.ca.gov
Additional information
| Weight | 1.5 lbs |
|---|---|
| Dimensions | 10.00 × 4.00 × 3.00 in |
| Color Family | Silver |
| Ideally Used With | Circular Saws |
| Material | Aluminum |
| Model | 544002 |
| Power Tool Accessory Type | Other Accessory |
| Product Length (in.) | 10 |
| Tools Product Type | Other |
Reviews (86)
86 reviews for BORA NGX T-Square Clamp Edge Accessory
Only logged in customers who have purchased this product may leave a review.
Related products
Saw Tracks
Model# 1312Saw Tracks
Model# CB50030BLSaw Tracks
Model# 196664-7Saw Tracks
Model# KMA2685Saw Tracks
Olson Saw 3/16 in. x 3/4 in. Band Saw Guide Blocks for Most 56-1/8 in. Band Saws (4-Pack)
Model# CB50080BLSaw Tracks
Model# 71174Saw Tracks
Model# TTSWCSaw Tracks
Model# DWS5022




Gordon Auer (verified owner) –
Bought this specifically to cut up plywood safely. The Bora NGX clamp definitely does this. For the price, this is a great little unit. It cuts spot on every time. Like any tool, you have to understand how it works and be aware of a few things to ensure it performs properly. On the NGX clamp, here are some things to keep in mind. Note, these are not in any way flaws. 1.) It does take about 15 minutes to connect your circular saw and dial the settings in to ensure adequate space between the cutting blade and the material. I have a DeWalt DWE575 and dialed it so the clamp is exactly 9/16 from my cut line. 15 minutes is not a lot of time, its easy. Do a few practice cuts. I recommend getting it dialed in to an exact measurement and there are markings on the slide piece to help you do this. Also recommend, clamp the top first, then do the 2 side clamps.2.) In the times I tried to use the right angle guide, it has not performed well. I bought the Premier set mainly because it was the only item available as the other parts (bought separately) were out of stock. In other words, I wouldn’t buy the Premier for this one part.3.) When cutting, be sure to put pressure on the right side of the guide. This ensures there is less blade deflection as you cut. 4.) Some folks complain the clamp down slide gets stuck. The trick is this… The gray handle and the orange edge has to come together in order to slide it. Simple. If it’s not sliding… just push them toward each other, you’ll feel a little click and it slides great.5.) Using the extension piece takes practice to ensure it’s spot on straight once the 4 screws are screwed in tightly. I find that screwing them in a little then pushing both slide components together and then screwing in the screws fully works best. Always check to make sure this is straight, common sense.6.) Some folks have mentioned the plastic construction of the base plate and clamp down. I’m not too worried about this. It’s pretty decent grade plastic. You’ll definitely get a few years out of this tool before anything breaks. If it does, just replace the part. Every tool wears.7.) The instructions… ha, this is one area that could use improvement. However, if you know how to use a circular saw and have actually changed out blades, the setup is pretty self-explainatory. Plus there’s plenty of videos out there.To close, even when I do get a table saw, I will still use the Bora NGX to cut full size plywood down to a more managable size. It is the safest way to do this and watching videos of people doing this on a table saw is pretty funny when you look at their eyes cause they know are uncomfortable.
Ludie Moore (verified owner) –
I really could have used this when I was building 4 barn doors for my basement. But I have two more to go and this will make the job much easier. It’s a pretty simple setup – the bars clamp easily to the work piece. And if it’s just straight cuts you can get away without the sled, just keep your saw pressed up against the track. The sled is a little tricky to attach straight but that’s more due to me being new to using a track saw. Couple of YouTube videos later and it was easy to figure out. And using the sled will ensure the saw doesn’t stray. All parts are very sturdy, very little flex in the bars. And the additional track clamps are a great addition – you can use bar clamps or C clamps, but to have clamps purpose built for this is much better. All in all, this is hands down better than screwing in scrap pieces of wood to serve as my guide and then having to fill holes. My only complaint, like others, is the instructions. Definitely not the easiest to follow.
Ernest Krajcik (verified owner) –
This guide makes cutting sheets of plywood, oriented strand board and composite siding much easier. In my opinion, this is a must have for the DIY handyman. Matched with the saw sled, you can cut straight edges up to fifty inches. My biggest concern is that the saw sled is made of plastic and I don’t know how much rough use it can handle. I have always had a problem free cutting sheet material squarely and this set up will help accomplish precise, straight edges.
Octavia Kub (verified owner) –
Cuts straight lines and is a great tool. Guide does stick while cutting and adhesive tape starts to peel off when not in use.
Manuela Schoen (verified owner) –
My son wanted this for a project he had, I thought he didn’t need it. I was surprised how handy it was and easy to use. I wouldn’t think of cutting a board without it now.
Easton Hessel (verified owner) –
BORA 5-Piece Clamp Edge Saw Guide. Well built and nice features. When the extension is added, it can handle an eight foot piece of plywood. I dropped this product down a point because the instructions could use a lot more detail. Especially on installing the non-chip strips. Took me a while and a phone call to figure it out. First, straighten the strips out as much as possible. Second, the blue covering needs to be removed from the double sided tape. If your not careful, you’ll remove the tape along with the blue covering. One strip on each guide. Make sure the strip is on the same side of each guide. The side of the strip that has the tape goes on one side of the bottom of the guides (lower step on bottom). When the strip is installed, the tape side of the strip should be level with the upper step of the guide. The other edge of the strip should overhang the edge of the guide. The saw should be used on the side of the guide with the strip attached (overhang). Mounting the saw to the saw plate was easier and is adjustable in all directions. I stored my saw with the plate attached. The adjustible clamp holds the board tightly and gives you a ridgit, straight guide to cut on. Can be used with or without the sawplate. Using the saw plate is easier.