BORA NGX 50 in. Clamp Edge Saw Guide Extension
$56.59
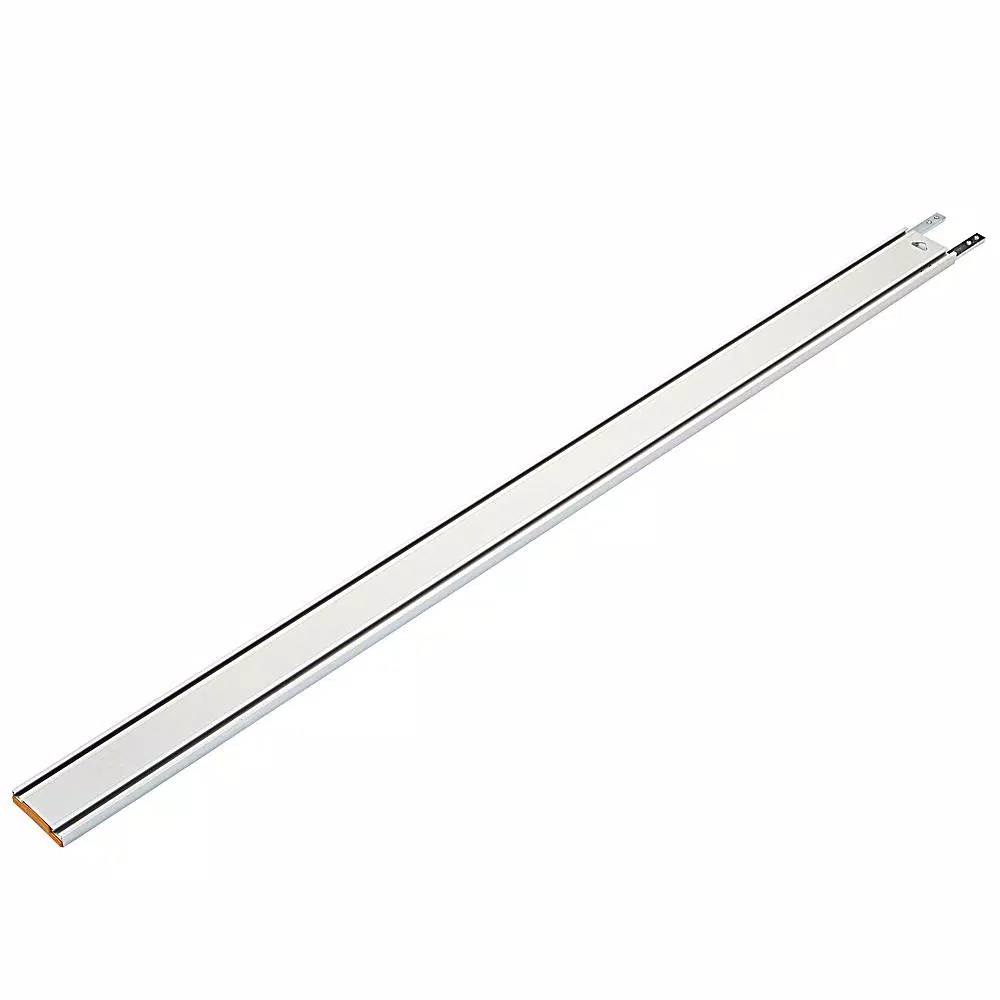
Easily swing the lathe tailstock down and store it out of the way with the selection of this BORA NGX Clamp Edge Saw Guide Extension.
In stock
Description
The NGX Clamp Edge System makes it faster and simpler to break down sheet material rip and crosscut boards with clean, accurate cuts every time. It’s never been easier to rip, cut, and break down material than with the all-new NGX Clamp Edge System. No more fumbling with adjustable clamp ends on opposite sides of the straight edge the adjustable clamp is connected to the handle. Simply hook the Clamp Edge across your board, line it up with your cut, and clamp it down all without moving your feet.
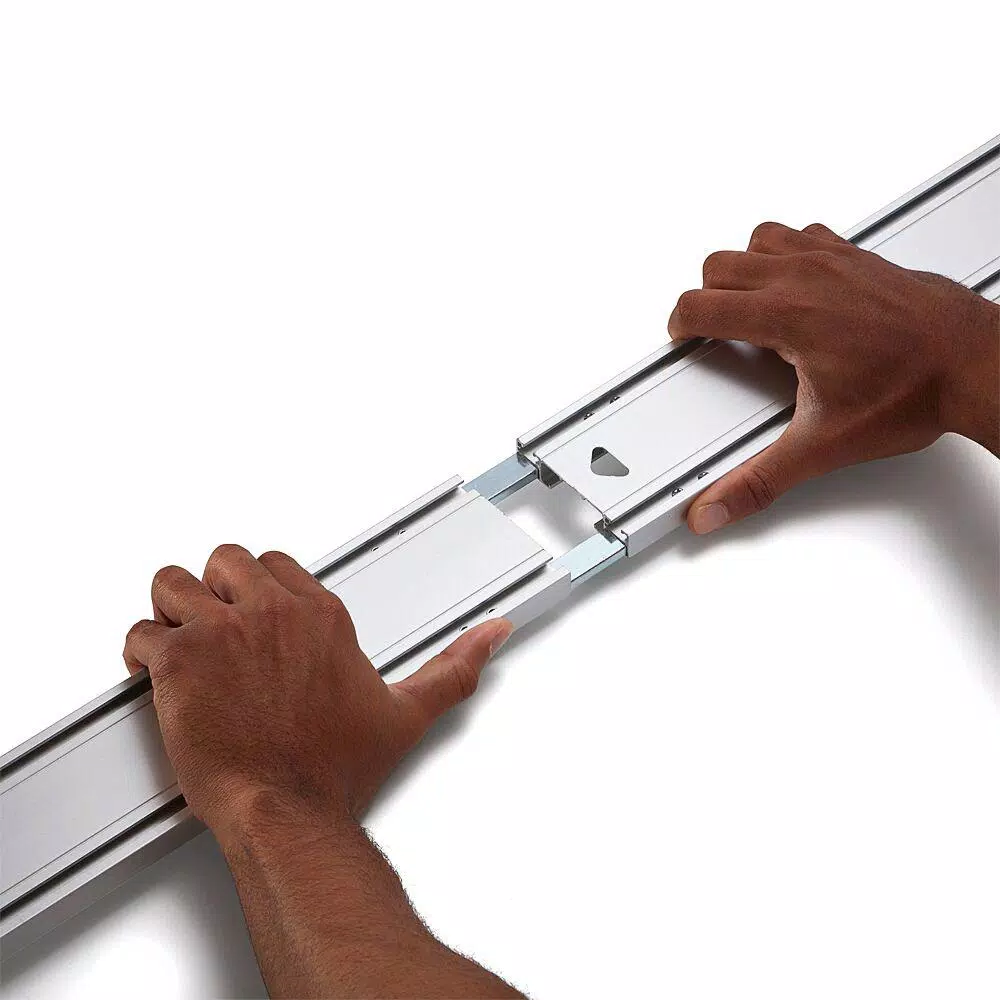
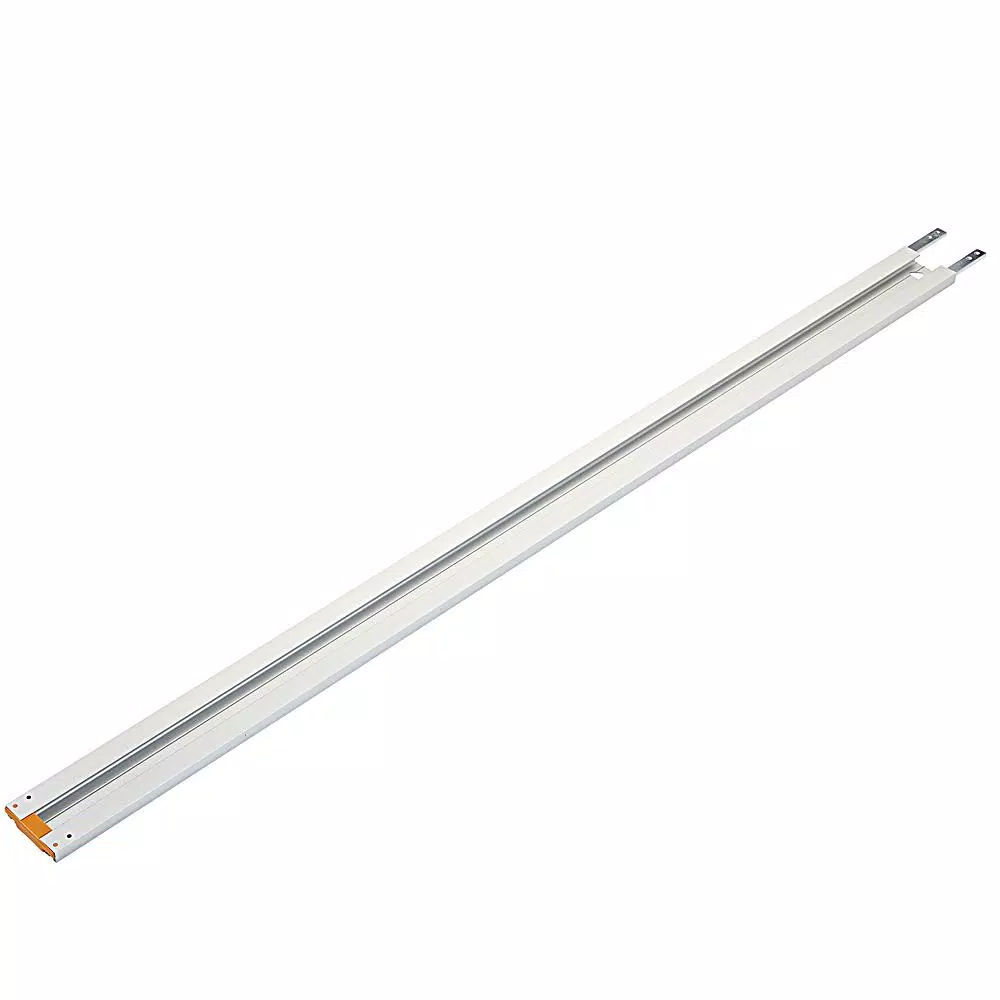
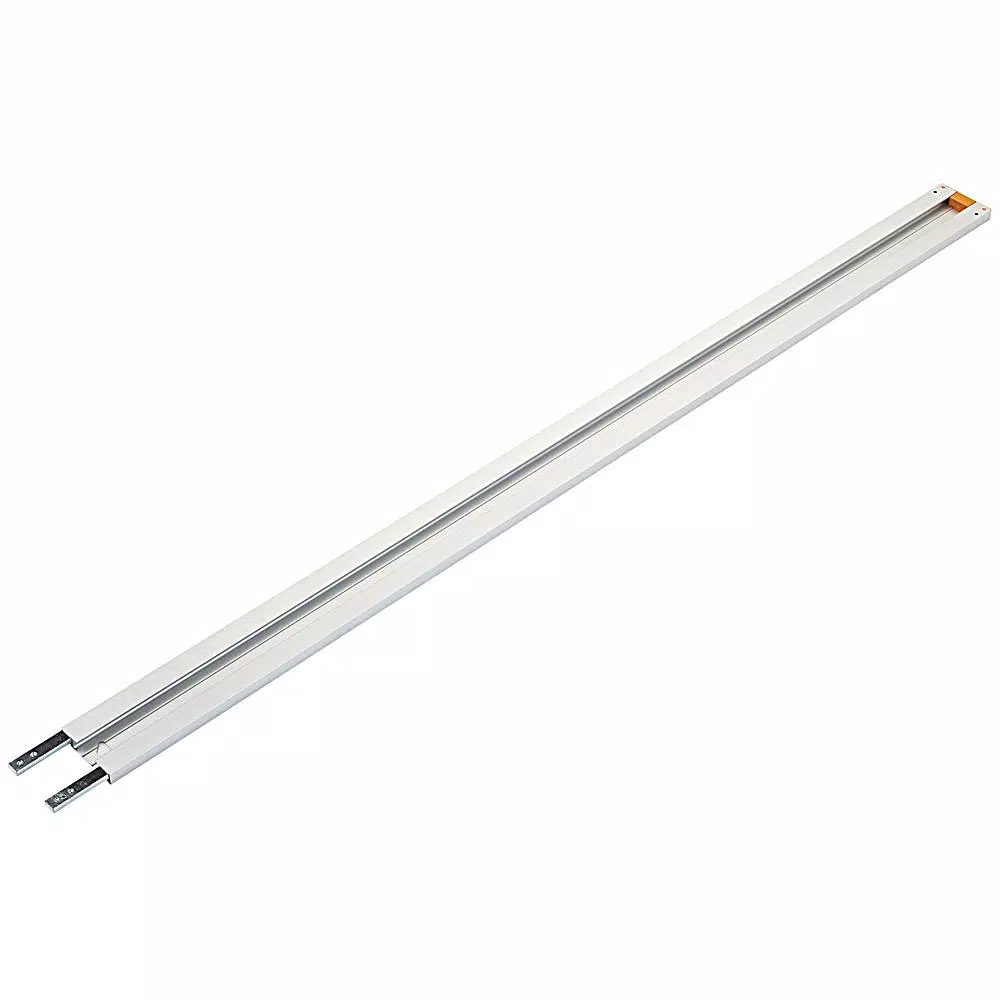
- Fits into NGX clamp edge saw guide to increase length by 50 in.
- Easily attached with metal connectors
- Made of heavy-gauge, extruded aluminum for extreme durability
- Get track saw-like precision without the hefty price tag
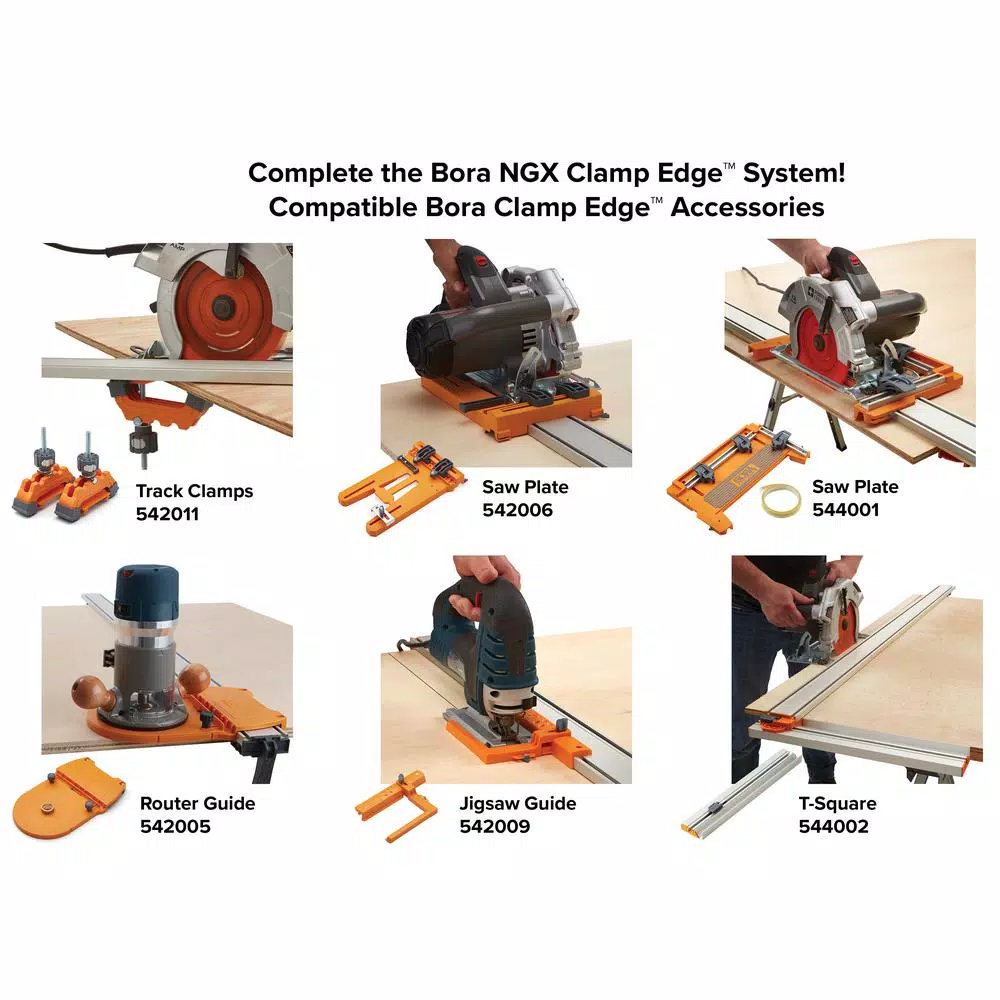
- Use with circular saws, routers, jig saws, and other portable power tools
- Part of the NGX Clamp Edge System to cut and rip sheets and boards
WARNING: This product can expose you to chemicals including arsenic, which is known to the State of California to cause cancer. For more information, go to www.P65Warnings.ca.gov
Additional information
| Weight | 1.5 lbs |
|---|---|
| Dimensions | 53.00 × 3.00 × 1.50 in |
| Color Family | Silver |
| Ideally Used With | Circular Saws |
| Material | Aluminum |
| Model | 544060 |
| Power Tool Accessory Type | Other Accessory |
| Product Length (in.) | 50 |
| Tools Product Type | Other |
Reviews (86)
86 reviews for BORA NGX 50 in. Clamp Edge Saw Guide Extension
Only logged in customers who have purchased this product may leave a review.
Related products
Saw Tracks
Model# DWS5022Saw Tracks
Model# TTSWCSaw Tracks
Model# CB50030BLSaw Tracks
Model# SM840Saw Tracks
Model# SM844Saw Tracks
Olson Saw 3/16 in. x 3/4 in. Band Saw Guide Blocks for Most 56-1/8 in. Band Saws (4-Pack)
Model# CB50080BLSaw Tracks
Model# 196953-0Saw Tracks
Model# 71128




May Hayes (verified owner) –
I am reviewing the saw plate, and the 100″ NGX two piece saw guide. Pros1) Easy to set upCons1) The saw plate is plastic. The buckles that hold it to your saw are aluminum, but they are secured to a plastic base.2) The saw guide clamping mechanism is plastic. There’s no way that clamp is going to stand up to years of use 3) It takes quite a bit of force to securely clamp the guide to your work piece, which tends to move the guide a tiny bit from your proposed cut line. You can back off the clamp pressure if you want, but then you risk the guide moving during your cut.4) When mounted on the saw guide, the saw plate rocks a bit from side to side. You can see this on YouTube videos. Since it doesn’t make contact with the wood, it is unstable and will not produce an accurate 90 degree edge5) The saw plate comes with a 55″ cutting strip, but the 100″ guide doesn’t include any strip. So basically, if you want to make clean cuts, you need to spend another $20 for an addition Non-Chip Strip. Not cool Bora!6) The two 50″ cutting guides are made of a thin gauge aluminum. It’s not a problem where cutting is concerned, but just shows how quality took a back seat to profits.Here’s the bottom line;If it came with a 100″ cutting strip, had metal clamps on the guides, and was priced under $100, I’d give it an additional star because the design is kind of cool. As it stands now, it’s an overpriced, over-hyped, novelty item. I returned mine after one use, and decided to make my own with 80/20 aluminum.
Giovanni Mills (verified owner) –
This NGX Saw Plate can be great but it does not fit my Milwaukee M18 circular saw and the directions are complicated. The plate will hold the vast majority of circular saws though and glides across the BORA NGX Saw Edge systems. The problem with my M18 circular saw is that its bottom plate is not a rectangle, the back inside end does not have a corner for the clamp to attach nor can I ensure that my saw is perfectly square on the ruler marks of the NGX plate (see pictures). The directions are complicated. First, I put the no-chip strip in the wrong spot. The directions say to put it on the edge of the NGX Edge saw guide but didn’t specify underneath the Edge. I tried to remove the strip but the adhesive came off too and it was a mess. Second, its fairly easy in theory to mount a saw on the plate but the directions make it difficult. I found myself wondering what the heck an “excrusion” is. The illustrations could be much better. This plate is well-engineered and sturdy. Using this plate, it is much easier to get an accurate cut because the no chip strip tells you where the blade will cut as opposed to not using the saw plate and measuring the distance from your circular saw’s blade to the edge of the edge clamp. I still use my NGX Edge saw guide as its a great substitute for lugging big boards across a table saw. The saw must be mounted perfectly on this plate for smooth and clean cuts. Made in China.
Lindsay Gutmann (verified owner) –
Thought I was getting Justin and guide clampdown style for for power saw ended up getting a bonus edge guide which my circular saw fits into which I thought was rather nice used it a couple times so far seems to work rather well there’s a chip strip that goes with the text chance to stop the wood from chipping back if you’re doing doors so you don’t chip the edges makes it look clean would recommend this for anybody replacing or buying a new Edgcote clampdown style
Ubaldo Littel (verified owner) –
The clamp is excellent and I expect to use it often. My only complaint is that the adhesive on the tape strip is not strong and the strip tends to peel off completely.
Mallie Herzog (verified owner) –
I have a few different clamps like this. This one is by far the best.
Shanelle McDermott (verified owner) –
Excellent saw guide, an important tool if you dont own a table saw or cant lug a large sheet of plywood across a table saw. It is very easy to use and the clamp is strong. The clamp has a temporary setting before you lock it into place. It locks very tight and may bow up so you should leave the clamp a little loose before cinching it down. It holds onto the piece nicely. For sawing, all you need to do is know the distance from the edge of you saw plate to the cut (mine is 4″) and set the clamp that distance away. The clamp can fit easily across 4 foot sheet and is durable as well. It can also be used for scoring drywall. This is a great tool to have in the workshop and hangs easily on a nail for storage. In the past I have used my most straight piece of wood and clamps. This saw guide saves me time and hassle.
Maiya Sporer (verified owner) –
It works but very time consuming checking and double checking that the saw is aligned correctly as well as the saw offset is correct for the cutting once aligned with the guide. The buckles aren’t as robust as i’d hope they’d be and are too flexible to be able to hold the saw in place without movement. one of my buckles wasn’t completely assembled as it was missing a pin for the closure. luckily i was able to get a nail to fit for the purpose. I’m happy with the product and i feel it provided me with straight cuts. it just takes a long time for set up.
Daisha Larkin (verified owner) –
I have wanted a track saw to breakdown plywood for a long time, but I could not justify the cost for a tool that I would use only a few times per year. The Bora NGX 5-Piece Clamp Edge Deluxe Set is well designed, extra sturdy and easy to use. The Bora NGX Set is less than one-third the cost and functions just as well as a track saw; therefore I think it is the perfect alternative for the DIYer who cannot afford a track saw. The BORA NGX clamping system is super strong and will not slip. I was especially pleased with the track clamps that came with the set, they allow the clamps to be used to make cuts at angles other than 90 degrees. Joining the two 50 inch straight edges together with the track clamps allow for angle cuts even on sheets of plywood. A phillips head screwdriver is required to connect the two straight edges together, but even though this may be a hassle, it serves to insure that the straight edge is indeed straight.I was impressed that the set even came with 2 Rolls of 55-inch self-adhesive non-chip strips used for reducing top edge tear-out. I was disappointed with the instructions that came with the set, I found them to be almost useless. I also had to look through several tool bags to find a #3 allen wrench which is required to move the brackets that hold the skill saw on the saw plate—it seems that a #3 allen wrench could be included in the set. I did find a wonderful video on YouTube from WorkshopAddict that does an excellent job of showing me all of the features of the BORA NGX set.I would definitely recommend the BORA NGX 5-Piece Clamp Edge Deluxe Set for anyone who already has a skill saw and is looking for a low cost alternative to a track saw.
Betsy McCullough (verified owner) –
I set this up today to test it out, First I removed my Craftsman circular saw from another brand track saw base. Then I installed it on the Bora base using the instructions that came with the set. First problem was the instructions are not the best but still able to figure things out. I set the tack across my table saw and placed the base on the track then the saw on the base. This let me adjust it to the track so the saw is not skewed on the base. After installing the saw on the base I installed the tear out strips. They were very easy to install and fit perfect to the track. Then I placed the base with saw on the track again and checked that the blade would ride along the edge of the tear out strip all the way down both pieces of track.. Its now ready to use. I took a piece of 3/4″ red oak plywood that was 76″ long and 24 1/2″ wide and cut 1/2″ off the whole langht so I had 76″ X 24″. I don’t have alot of room to work so I would rip my sheets of ply out side using my truck and a saw horse. but this time I just layed it across my table saw and clamped it down and cut it. The two piece of track connected together and the bora track layed down and clamped with the slide clamp only it was solid as a rock it was not moving. I placed the base and saw on the track and made a perfect cut and my work piece was nice and clean no tear out at all. Now with it 24″ wide I needed 2 pieces 28″ long so I took off the extension track and just use the 1 piece to cut across the width to cut off 28″. Now the left over piece I took and cut off another 28″ langth with my table saw then I compared the 2 pieces and they both were perfect and match up they both were square to each other. I find the base rides on the track very smooth and it does not skew any when you stop and start again. There is no slop in the base when riding along the track. I did not use the 2 track clamps at this time but thay are great I checked them out and thay adjust great they fit the track with no problems and I know I will use them alot in the future. Now with all that said the only thing I can see a problem with is the nuts on the bottom of the base. when I went to adjust the lock down track on the base the nuts turned in the grove. This should be a long nut made with flat stock so it can’t turn in the grove not a hex nut that will ware the plastic if its tighten and loosen to maney times. For me its ok I am leaving the saw set up. Even with the one flaw above this is easer and better than the other brand I have been using that I had to go buy clamps to hold it down to keep it from walking on cuts. Its also harder to set up for long cuts so The Bora clamp edge deluxe set is a Plus plus for me. Now all I need is a Bora Centipede so I dont have to use my truck as a table.
Isabelle Stroman (verified owner) –
I think this is a great tool, especially when you purchase NGX saw plate to go with it. However, see my review of the saw plate. It only comes with one 55 inch Non Chip Strip. YOU NEED A SECOND ONE! This is essential for aligning the Clamp Edge when ripping full sheets of plywood. This is not noted anywhere in the product description and HD doesn’t offer the NCS as a separate purchase option.
Korbin Veum (verified owner) –
This appears to be well-made but I never had to use it after I bought it.
Trevor Jacobs (verified owner) –
Purchased this kit to augment a WTX have owned for many years. Clamp mechanism of NGX is much better design IMO and is easy to set. Using the saw sled with Mak 18V LXT sidewinder and this combo works well to add and easy to set up track saw rig for panel work in my pocket shop.
Chanel Roberts (verified owner) –
This tool is like having a portable track saw. I most recently used it for ripping and cross cutting sheets of plywood and 4’x8’ PVC trim sheets. And using it with the caddy/sled/sawplate/whatever-you-want-to-call-it, which attaches to the saw, sure beats my previous method. No more fighting an imperfect 2×4 to stay flush. The caddy fits on two of my 7 1/4” saws (one corded, one cordless), as well as my little 6 1/2” cordless. At first I struggled to attach the saws, but that was because I wasn’t lifting the blade. Once attached, you lower the saw blade to make sure there’s reasonable cutting depth (keep in mind the caddy’s clamps should be placed as to not interfere with the saw’s motor/housing etc… I made that mistake too). That brings me to the paper instructions…. Would have been nice if they were clearer. Bora’s website wasn’t any help either… I had to goto youtube to figure it out. There are a lot of fine adjustments required to get the saw perfectly straight in the caddy, so I’ve left my corded saw in it so it’s ready to go for the next project.The guide comes in two pieces, which when combined provides 100”. Keep in mind when you only use the main piece you’ll get a little less than a 50” cut due to the clamps on each end. Would have been nice if this guide had quick change/setup capability to go from 55” to 100”. Assembly to 100″ requires removing a few screws and then screwing the ends together. Of course, then you have to reverse the process to take it apart for storage. I greatly appreciate the hanging hooks on both guides since I can get them out of the way when not in use.The 50” and 100” non-chip adhesive tape strip, is a nice idea in theory. In practice, it’s useless in my opinion unless you (a) adhere it perfectly straight (although it will be kinda straight if not perfect after the first cut); and (b) make only straight cuts. If you do a beveled cut you’ll cut the tape unless you flip the whole sled contraption around to the other side of the track…. and doing so changes the blade’s position. I haven’t tried the two additional track clamps for angle cutting yet because I haven’t needed angular cuts. To attach the track clamps you have to remove the ends and slide them onto the track. Overall this seems well built and it’s a very helpful tool for the DIYer like me who wants the advantages of a track saw. I’m pleased with it.
Zachary King (verified owner) –
I had a problem with the non-chip strip; it was pulling away from the metal and adhesive after I installed it. I contacted the manufacturer and they immediately sent a replacement.
Electa Bauch (verified owner) –
This is a strong, easy to operate clamp with a versatile saw guide attachment (Model 544050, Made in China). The clamp is 50” in length, long enough to use on a 4′ x 8′ piece of plywood to cross-cut it. The clamp adjusts by sliding the clamp end, but the mechanism must be FULLY disengaged or it will not slide. As with most clamps, the edge will not automatically be square to the clamping surface so use a square to align the clamp. The clamping force is STRONG, and takes a bit of muscle to lock/unlock the clamp. It’s enough to actually bend 1/4” plywood (see photo) so it will hold tightly during use. The clamp has two parallel slots on it that are perfect for holding 1/4” bolts, including toilet bolts, meaning the clamp can be used with homemade jigs. There is a nice hanging hole at the top of the clamp. This clamp is much better than either of the other two 50” clamps I own and will get a lot of use.I normally cut plywood by just sliding my circular saw against the edge of the clamp, and usually don’t drift from the clamp. The Edge Saw Guide virtually eliminates the chance of drift by riding BOTH sides of the clamp. The base adjusts for most saws (right or left-handed) and locks onto the saw with three clamps. Adjustment is a one-time task, requiring a 3mm hex (allen) wrench, which was not supplied. Unfortunately for me, there was no way to adjust the clamping bolts to engage on a flat spot on my saw base, which has a grid pattern, so the grip was tenuous at best. The guide comes with a strip of plastic to be installed as a “non-chip” edge, preventing the wood from splintering along the cut (similar to a zero-clearance throat plate on a table saw). I chose not to install mine, as it limits the clamps use as an edge guide for other saws and/or router. The clamp and guide work perfectly without it, but the cut itself might not be as clean on the upper surface.For my money I would buy the clamp and skip the Edge Saw Guide, especially since it doesn’t fit my particular circular saw as well as it might fit others. It’s a good quality accessory, but doesn’t add enough value for me.
Bradford Koss (verified owner) –
Excellent guide and easy to use. When the two parts are assembled, they formed a straight edge that was verified with a level. Highly recommended.
Ebba Deckow (verified owner) –
Sticks to the guide rail but overall Good saw plate
Stuart Nitzsche (verified owner) –
Easy to use guide clamp that makes accurate cuts quickly. Saw base is easy to mount to your saw and easy to dial in. Great setup for ripping and cutting down plywood.
Eldred Wunsch (verified owner) –
This Bora 50-inch Clamp Edge Saw Guide is a welcome addition to my woodworking tools. I bought a similar small clamp edge type guide many years ago at a woodworking show in Phoenix, but this Bora clamp edge is far superior to that one. First of all, the Bora NGX is 50 inches long, so it can clamp all the way across a 4 x 8 sheet of plywood. (My old clamp edge guide is only 26 inches long, so it has limited use as a saw guide.) The Bora clamp edge aluminum rail is slightly more than 1/2 inch thick, so it is very sturdy.The main rail of the Bora NGX clamp edge is made of extruded aluminum and the clamping mechanism and end stop are made of some kind of sturdy molded thermo-plastic. When released the clamping end slides easily in the double track slots of the aluminum rail. When you get it in position against the edge of your plywood, a simple flick of the T-handle locks the clamp edge in place ready to guide your saw. Bora sells a separate NGX saw plate that can ride on top of the clamp edge rail or you can just allow for your saw’s blade offset and let the saw’s edge be guided by the clamp edge rail.My only complaint (which is a pet peave of mine) is that Bora slapped a UPC sticker on the clamp edge rail where it meets the cardboard packaging (see photo) that was very hard to remove. It took me 15 minutes of soaking the UPC label remnants with WD40 and scrubbing with paper towels to remove the label adhesive without damaging the aluminum rail’s finish. Sterlite, who makes plastic storage boxes, manages to make labels that stick to the product but are very easy to remove without leaving adhesive residue, so why can’t other manufacturer’s follow their lead?
Meta Strosin (verified owner) –
It makes cutting perfect straight lines with a circular saw easy. This will cut across the 48” side of plywood or any sheet good. You can also add another 50” section and rip the full length of a sheet of plywood. Cheaper than a track saw.