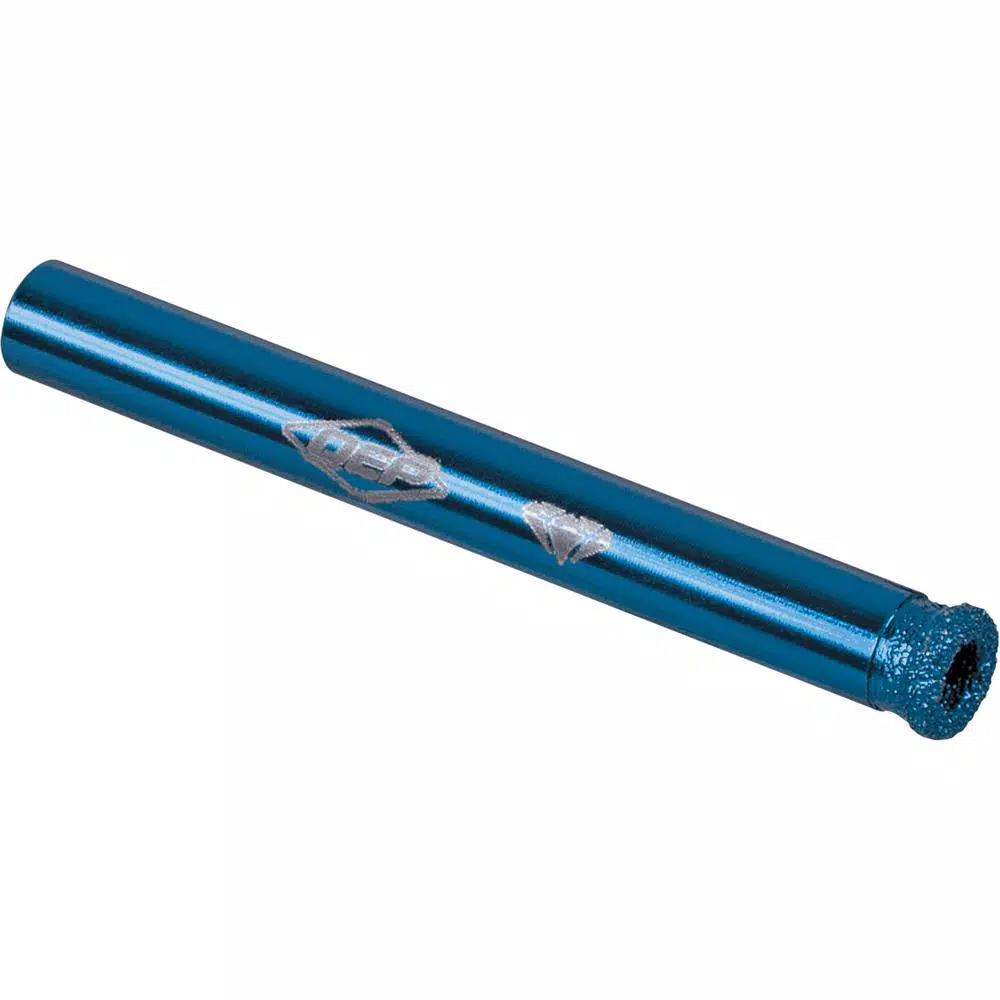
QEP 1/4 in. Pro Wet/Dry Diamond Hole Saw
$17.82
Ensure easy, fast and accurate cutting of porcelain, ceramic and glass tiles with the selection of this durable QEP Pro Wet or Dry Diamond Hole Saw.
In stock
Description
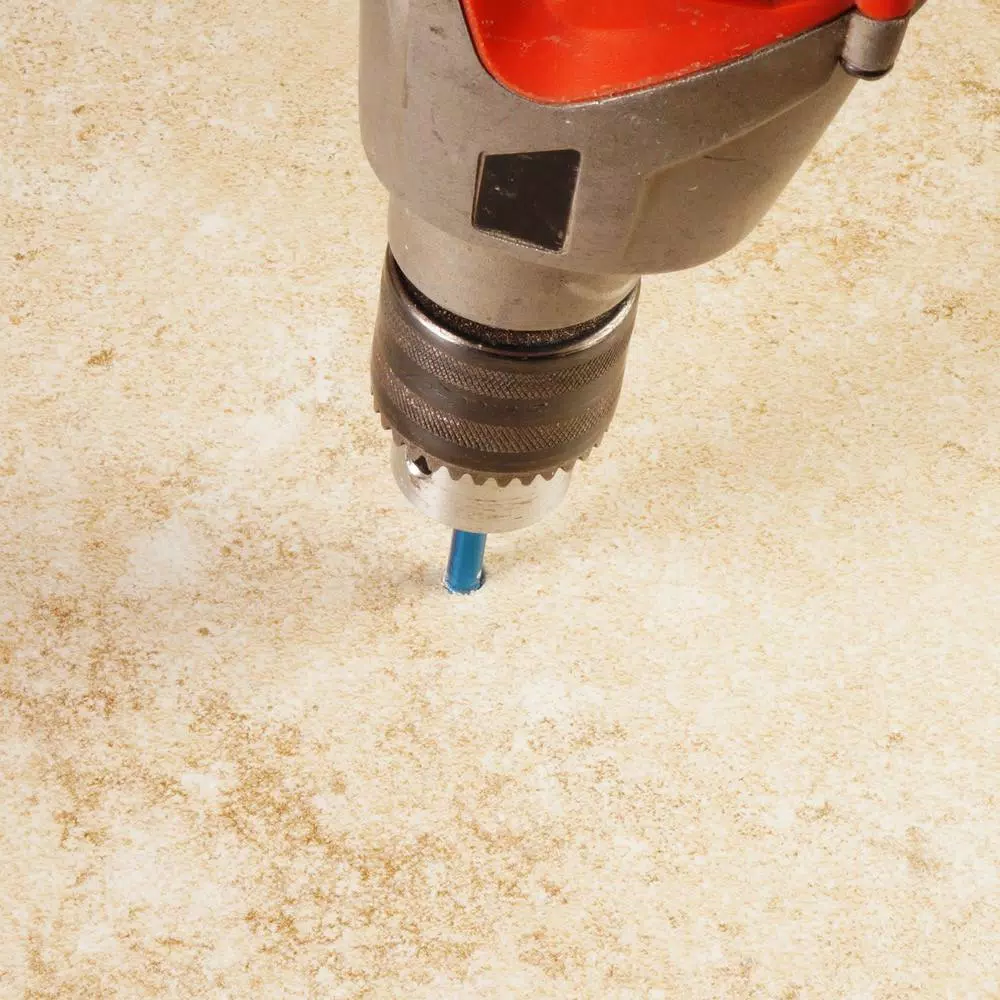
The QEP 1/4 in. Wet/Dry Diamond Hole Saw is designed for the easy, fast and accurate cutting of porcelain, ceramic and glass tiles. This hole saw features a special diamond grit edge for faster and smoother cuts, while using less water than conventional diamond drill bits. Simply dip the hole saw into water and drill the desired hole for professional quality and results.
- Ideal for cutting 1/4 in. holes in ceramic, porcelain and glass tiles with minimal water use
- Advanced metallurgical technology bonds diamond grit to chrome alloy steel base to produce a long-lasting cutting edge
- Extremely durable and built to last longer than conventional diamond drill bits and standard hole saws
- 12 times longer lasting than standard hole saws
- Simply dip in water, no need for a constant water delivery system, for quick and easy use
- Flexibility to be used in wet or dry cutting conditions is preferred by professional flooring installers
- Easy to clean by rinsing with hose or in clean water after each use
WARNING: This product can expose you to chemicals including arsenic, which is known to the State of California to cause cancer. For more information, go to www.P65Warnings.ca.gov
Additional information
| Weight | 0.025 lbs |
|---|---|
| Dimensions | 0.75 × 2.75 × 7.00 in |
| Blade Length (in.) | 0.75 in |
| Blade Material | Diamond |
| Blade Width (in.) | 0.25 |
| Hand Tool Type | Blade |
| Individual/Set | Individual |
| Model | 10075 |
| Number of Pieces | 1 |
| Product Length (in.) | 0.25 in |
| Replacement Blade Type | Fixed Blade |
| Teeth Per Inch | 0 |
| Tools Product Type | Power Tool |
Reviews (57)
57 reviews for QEP 1/4 in. Pro Wet/Dry Diamond Hole Saw
Only logged in customers who have purchased this product may leave a review.
Related products
Knives & Blades
Model# 10-788Knives & Blades
Model# 10-189CKnives & Blades
Model# RWK14DKnives & Blades
Model# 11-931AKnives & Blades
Milwaukee General Purpose Utility Blades with Dispenser (100-Piece)
Model# 48-22-1900Knives & Blades
Stanley Surform 5-1/2 in. Pocket Fine-Cut Plane Blade Replacement for 21-399
Model# 21-398Knives & Blades
Model# 48036Knives & Blades
Model# DWHT10045


Maida Koepp (verified owner) –
Got it to drill hole in flower pot. Worked well on first pot but slower on second pot. Overall much better then cement bit I had tried.
Grace Trantow (verified owner) –
I tried a standard “blade” style carbide drill to drill a 1/4” hole in ceramic tile to install safety rails. It did not work at all. I bought a QEP 1/4″ Diamond Hole Drill. The drill, once started bored through the tile without a problem. No chipping or cracking, clean hole. Recommend!
Floy Strosin (verified owner) –
This wet /dry Diamond hole saw 1/4 inch by Qep was the perfect product for my projects on slate and ceramic tile. The saw cuts perfect holes to allow me to attach leather strips to hang the slate on walls etc. I have not tried yet on glass and marble but am looking forward using this tool on other materials for similar projects. This diamond hole saw will work on all those materials and more. Great saw. Thanks Qep/Home Depot for another fantastic tool.
Cordelia Stroman (verified owner) –
My time at the store was terrible and I was about to leave because no one would help me! Luckily this very nice kid named Paul walked by and saw that I needed assistance. He had amazing customer service and deserves recognition!
Abbigail Von (verified owner) –
cut like butter
Carlo Stokes (verified owner) –
Bit worked well. Be sure to keep it as wet as possible and clear the hole in the center or you will find yourself having trouble getting through the tile.
Chet Little (verified owner) –
First experience drilling into tile. Hole saw cut through the tile without cracking it. Recommend that you clean the inside hole out regularly to avoid material clogging causing slow to no drilling action. I recommend creating a jig with hole to keep the bit from dancing around the tile face.
Vladimir Ondricka (verified owner) –
Used this drill on my ceramic tile which was extremely hard. However, to drill my pilot holes I used a diamond tipped glass/tile drill. You have to use slow RPM and lots of water to use this drill. I used a squirt bottle with water to keep the drill site wet.
Owen Kohler (verified owner) –
Decent product. Made 12 holes in 3/8 inch (very hard) ceramic tiles. It did seem to get weaker towards the end, and the cuts certainly took longer than my 1″ hole saw (different company), but maybe this has to do with the speed of the larger circle vs smaller one.
Anne Fadel (verified owner) –
I purchased this bit after my carbide bits wore out. The package claims that this bit lasts something like 10 times as long as a carbide bit and after drilling 24 holes with the same bit i would agree with that. I was drilling 6mm ceramic tile and was very impressed not only with the quantity of holes but also the quality. It is very difficult to drill on the edge of thin tiles and not chip or crack them but i was able to do it with this bit.Downsides: the slugs that come out when drilling a hole have no way to eject from the bit so the bit must be removed after each hole and the bit cleaned out.
Kenyon Wilkinson (verified owner) –
Just in the last fifteen years, there’s been something of a revolution in ceramic tile manufacturing. Advanced manufacturing processes have come to allow tile to be commonly sold at hardness levels that far exceed the standard residential hardnesses of thirty years back. In addition, new diamond blade manufacturing techniques and capabilities mean that wet saw design and pricing has come way down, and so saws that can cut this very hard tile easily are readily available to the DIYer.I’ve been laying tile for quite some time as a small-scale residential investor/remodeler, and I’ve watched the industry change. Like anyone who builds ceramic surrounds for steel tubs in rentals or builds custom showers with mud bases as a luxury upgrade, I’m quite happy about this trend, because it means that much more durable tile for this kind of work is easily available. While I haven’t started paying much less for tile, the tile I use in showers has upgraded significantly, because I get more bang for my buck now.The standard method to drill small holes in ceramic tile for screw anchors is to use a carbide-tipped masonry bit on a 1/2″ hammer drill. This eats up drill bits quickly, but it works just fine on most ceramic tiles.The last custom shower I built was made of a PEI 5 impervious porcelain tile I had not used before. When it came time to drill the holes to install the shower door, I smacked into a very hard problem. Making the holes literally ate up more than one masonry bit per hole. I tried some high-quality German carbide glass and tile drill bits, and they came apart just as fast. Eight holes, eight name-brand carbide-tipped 1/4″ masonry bits, and the shredded pricey glass and tile bits were just a bonus. We couldn’t believe it.And since I very much LIKED working with this PEI 5 impervious tile for this shower and will be doing it again, I needed to upgrade my drilling tools for screw anchors.This is that.I am currently somewhere in the high 20s on holes made with this drill bit, using the exact technique described on the back of the package.Some hints and pointers:Fill a small container with water, like a yogurt cup, a pie tin, an empty plastic tub, whatever, put it near your work, and use that to dunk this into before using it, as recommended.Attach this to a drill that does not go below 1500 rpms or above 2000 rpms (many standard 3/8″ drills get to 3000 rpms, many standard 1/2″ drills only get to 1000 rpm, so check the RPM specs of your drill). Do not use the hammer option if you’re using a hammer drill.Do not spend more than five seconds to cut the semi-circle described on the back of the packaging.Do not exceed the five-second guideline at any time during the drilling process. Slow count to five, stop and dip, slow count to five, stop and dip, is going to save you a lot of money.Use light pressure and gently angle the drill slightly around the hole during your five-second drilling times to “oscillate the drill bit” as directed. It’s just like opening up the back a hole sightly in hardwood with a standard bit.If you’re drilling through thick,oversized floor tile, after a few 5-second intervals, don’t just dunk the drill bit, allow it to rest in the water for an additional 5 seconds. If it’s hissing loudly, you’re not cooling the bit properly and should leave it in the water long or drill for shorter periods of time. If the bit is glowing cherry red, you’re well on your way to ruining your moneymaker.Don’t drill through underlying mortar or backerboard with this bit. Stop when you’re through the tile. There’s no need to use this bit on underlayment. Switch the hole saw bit out for your less expensive 1/4″ masonry bit, turn on the hammer if you’ve got it, and go to town.One last point: I have noticed improved performance if I dress this bit much as I do my diamond wetsaw blades, but more frequently. Drill a quick hole in a piece of brick, concrete, or dried thinset mortar for every six holes you drill into porcelain. Doing so allows the matrix that the diamonds on this bit are embedded in to wear down properly and exposes more diamond cutting surfaces as the bit ages.All in all, if you baby this diamond hole saw, it will love you back like daddy. I couldn’t be happier.
Erica Hand (verified owner) –
worked well
Emmett Runolfsson (verified owner) –
Burned one bit quickly despite maintaining the proper RPM on the drill. Purchased another (only option on the shelf) but this one had a new package with clearer instrucions. The old packaging did not have instructions (wet periodically, etc.).Grateful for HD return policy!
Pablo Jerde (verified owner) –
The QEP 1/4 in. Wet/Dry Diamond Drill Bit.Glass was cut here.Using this bit was so easy I had an extra set of hands to apply water which made the whole process easy. I feared dulling the bit with the chips on it by cutting dry then stopping after five seconds to dip in cool water like the package suggests. I used on a wine bottle because of the popular craft of making wine bottle lamps. I started out with high rpm’s to get a grove started then once a circle was cut I slowed the speed a little and applied very little pressure, the water keep it cool and clean too. The small chips seen in the picture look big because of close up photo. I am rating this a 5 all around.
Ida Okuneva (verified owner) –
quick and easy to use
Erling Witting (verified owner) –
Worked very well went through porcelain tile veryCleanly
Mathew Mann (verified owner) –
Only able to drill 4 holes then it was dull