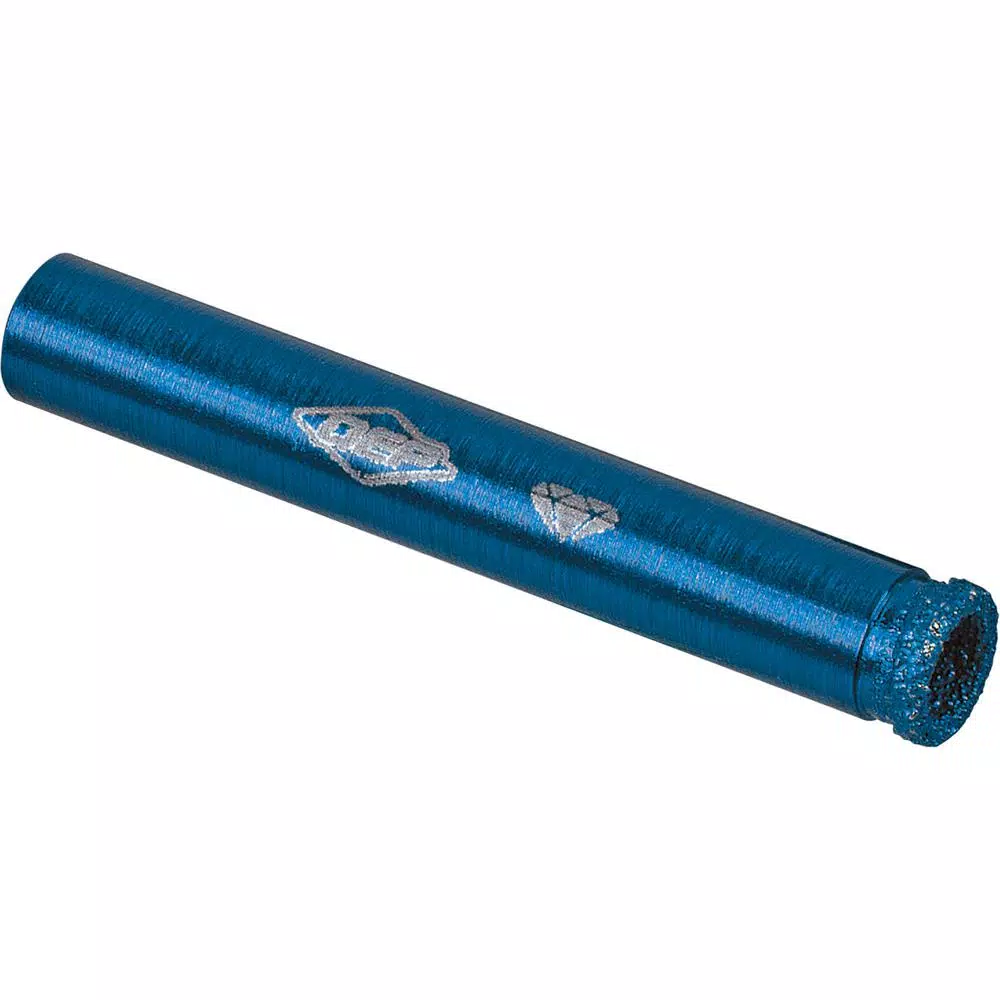
QEP 5/16 in. Pro Wet/Dry Diamond Drill Bit
$17.97
Complete your tile installing work perfectly and professionally with the assistance of this amazing QEP 5/ Pro Wet/Dry Diamond Drill Bit.
Only 10 left in stock
Description
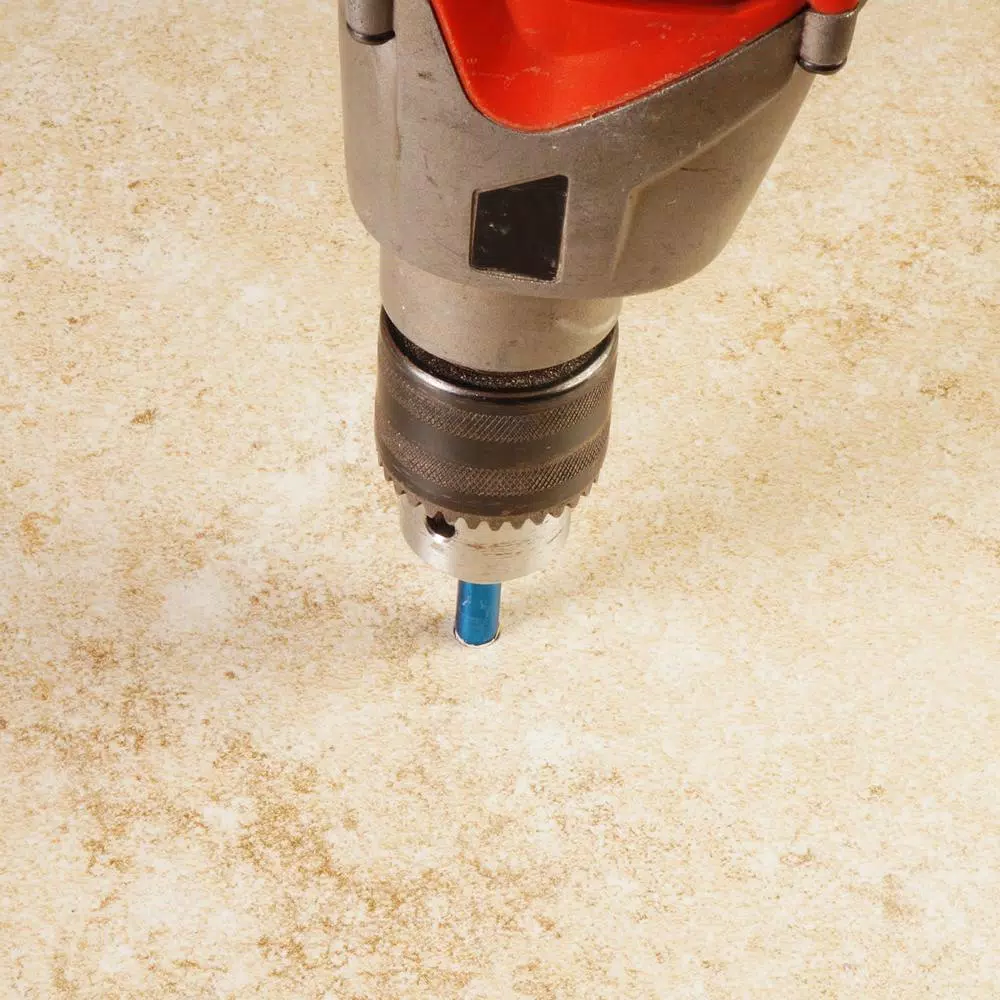
The QEP 5/16 in. Wet/Dry Diamond Drill Bit is designed for the easy, fast and accurate cutting of porcelain, ceramic and glass tiles. Perfect for cutting holes for shower door, towel bar, cabinetry and shelving installations. Simply dip the diamond drill bit into water and drill the desired hole for professional quality and results. The QEP 5/16 in. wet/dry diamond drill bit features a special diamond grit edge for faster and smoother cuts, while using less water than conventional diamond drill bits.
- Ideal for cutting holes in ceramic, porcelain and glass tiles with minimal water use — no more water systems
- Advanced metallurgical technology bonds diamond grit to chrome alloy steel base to produce a permanent cutting edge – professional quality and results
- Extremely durable and built to last longer than conventional diamond drill bits
- Easiest tool for drilling hard porcelain, glass and other types of tile; no cups or water feed system required
Additional information
| Weight | .05 lbs |
|---|---|
| Dimensions | 0.38 × 3.50 × 7.25 in |
| Assembled Depth (in.) | 3 in |
| Assembled Height (in.) | .20 in |
| Assembled Width (in.) | .20 in |
| Bit Length (in.) | 2 |
| Bit Material | Steel |
| Drill Bit Type | Specialty |
| Drill Bit Type(s) Included | Specialty |
| Individual/Set | Individual |
| Material Application | Ceramic Tile |
| Model | 10080Q |
| Self-Feeding | No |
| Shank Diameter | 5/16 in |
| Shank Style | Hex |
| Tools Product Type | Power Tool |
Reviews (15)
15 reviews for QEP 5/16 in. Pro Wet/Dry Diamond Drill Bit
Only logged in customers who have purchased this product may leave a review.
Related products
Drill Bits
Milwaukee 18 in. x 7/16 in. QUIK-LOK Universal Extension Bit
Model# 48-28-1050Drill Bits
Model# 48-25-2122Drill Bits
Model# 48-32-2100Drill Bits
Milwaukee 18 in. x 7/16 in. Bit Extension Bit Extention For Selfeed Bits and Hole Saws
Model# 48-28-4011Drill Bits
Model# FB-007Drill Bits
Bosch 20 in. Hammer Steel 1-1/8 in. Hex Moil Point Chisel for General Chipping Work
Model# HS2161Drill Bits
Model# 282303Drill Bits
Model# FB-005


Lewis McKenzie (verified owner) –
Works with water or without
Kylie Swift (verified owner) –
The Wet/Dry Pro Diamond Drill Bit is sturdy and cuts well. It comes with very detailed instructions, which I found very helpful, such as starting at an angle to keep it from slipping, and to dip the bit in water frequenty to cool it down. I needed to replace a sliding bathroom closet door, after replacing vinyl with tile, which required having a hole through it. Rotating the position, taking it slow with small cuts and following the instructions will give the best result.
Ettie Breitenberg (verified owner) –
This QEP drill bit is very easy to control when positioning the bit to start the hole in the tile, drills clean holes and seems to be a lot more durable than conventional ‘spade’ shaped tile bits I have used. Drilling into tile can be laborious and also risky in as much as you can damage the tile if the drill bit skids over the tile surface when starting the hole however these bits are a real confidence builder in this respect. Its the first time I’ve tried one of these and I would highly recommend it.We recently installed a small grab handle in our bathroom to make it safer to get in and out of our deep soaker tub. We remodeled our bathroom recently and put some 1/4″ thick ceramic tile over 1/2″ cement board. I previously used a more conventional spade shaped tile drill to drill holes for our shower door and was looking for an alternative that is easier to control and more durable than a spade bit.This QEP bit is very easy to use if you follow the very simple instructions. Have a small bowl of water handy to keep dipping the drill bit in to keep it cool and lubricated and you will have no issues. To start drilling a hole, you angle the bit at 45 degrees and have the drill on full speed before contacting the tile. A firm grip will stop the drill from skating over the tile and after a few seconds you can change the drill angle to be square to the tile and drill the hole conventionally.Every few seconds you should take the bit out of the hole and dip it in water to keep it lubricated and cooled. In my case, if it dried out, a puff of tile dust would be forced out of the hole letting me know it was time to dip the bit into the water.I drilled 5 holes and the fifth was as easy to drill as the first so the drill is certainly durable. By comparison I obliterated a spade tile bit after a couple of holes when hanging the shower door in the same ceramic tile a few months ago.Between each hole, I used a smaller drill bit to clean out the tile residue from the inside of the tile bit. This stopped the center of the drill plugging up with the tile and backer board core it was removing. I also found that the bit was less prone to ‘wandering’ and gave straight, true holes when the bit was progressing through the different material in the hole. When I was drilling with the spade bit, I found it would go awry when I made it through the tile and into the cement backer board and I had no such issues with this QEP drill bit.
Junior Stracke (verified owner) –
Excellent, Excellent and Excellent. Drilled three holes in hard ceramic tile and it took only about 5 minutes. Previously I had tried three holes with a carbide tipped drill bit and it took 4 hours and I was exhausted when finished. This was the best money I have ever spent for a tool. Highly recommend it.
Bernadine Jenkins (verified owner) –
I will never use a spade bit again. This is the way to go.
Santiago Farrell (verified owner) –
The 5/16 inch Pro Wet/Dry Diamond Drill Bit # 10080Q is a very sharp bit fore using on tile with a lot of water to help keep it from getting hot. The best way to use the bit I found was to use it at high RPMs (over 3500) with cold water, moving at a very slow speed. The bit I feel is a one and done bit, meaning it is a one time use bit. The bit is recommended for the cost, and quality.
Danny McLaughlin (verified owner) –
I drilled about 10 holes through some very hard, thick porcelain tile and the cement backer board to mount a shower door. I closely followed the directions, and the drill bit made it through this job. I don’t know if it would last through another set of holes, though. The aluminum barrel has shown signs of thinning and wear behind the diamond area, since it’s best to rock the bit a little while drilling to help it to bite, and it rubs on the sides of the hole when doing so. Apparently frequent dipping of the bit in water is sufficient to cool it and clean it to make it last a while without a continuous flow of water. The bit did what I needed it to do, but I’m thinking of it as an expendable tool.
Susana Durgan (verified owner) –
Cheaper hole saws gave out after 2 porcelain holes. This PRO version is the way to go. Don’t buy cheap hole saws – they will waste your time and money.
Jaylin Bode (verified owner) –
functioned well, life was short
Kade Klocko (verified owner) –
One of the toughest jobs to do is drill a straight clean hole in your ceramic tile. If you’re installing a new shower door or a shelf in the shower, this bit is what you need to get the job done. The diamond chips make cutting through the glaze layer very easy. Important to follow the instructions carefully. Holding the bit at an angle to get started takes some practice, but once you start through the glaze, ease up to perpendicular and you’re home free. A helpful tip, I take an old sponge put a hole in it, soak up some water. Once I start drilling I slip the bit through the hole in the sponge and use the water to keep the bit cool. This will extend the bit life. Once through the glaze layer the bit goes through very easily. You’ll have a nice clean hole to put your anchors in.
Dayne Hudson (verified owner) –
I was able to drill 20 holes in ceramic tile with this one drill.
Gaston Franecki (verified owner) –
Good drill bit
Maye Schamberger (verified owner) –
I got one of these because am doing a bathroom reno using travertine tile from the floor to the ceiling. So in need of something to drill holes for passing electrical wiring through and such, and this little guy works quite well. You have to follow the instructions however and come in at an angle very delicately to start your groove cut or the bit will dance all over your tile.
Aurelia Bergnaum (verified owner) –
I obtained this bit to drill holes through the porcelain tile in our shower and tub enclosures so that I could hang hooks and soap dishes. I have always used a wood template to start the holes when using a diamond hole saw. The instructions on the package said to start the bit at a 45 degree angle and a high speed without a template. This worked very well. With the template it is hard to see if you are actually drilling in the right location but with this method you can see your marks. When I finished the hole I was impressed with the quality. It is a very clean hole with no chipping of the tile surface. I haven’t used the bit enough to speak to the long life but after two holes I could not see any change in the speed of cutting. As with all diamond bits I do use lots of water for cooling and lubrication.
Brayan Kunze (verified owner) –
Did the job clean and efficient.