QEP 5/16 in. Diamond Hole Saw with Water Delivery System
$11.98
Complete your tile installing work perfectly and professionally with the assistance of this amazing QEP 5/ Diamond Hole Saw with Water Delivery System.
In stock
Description
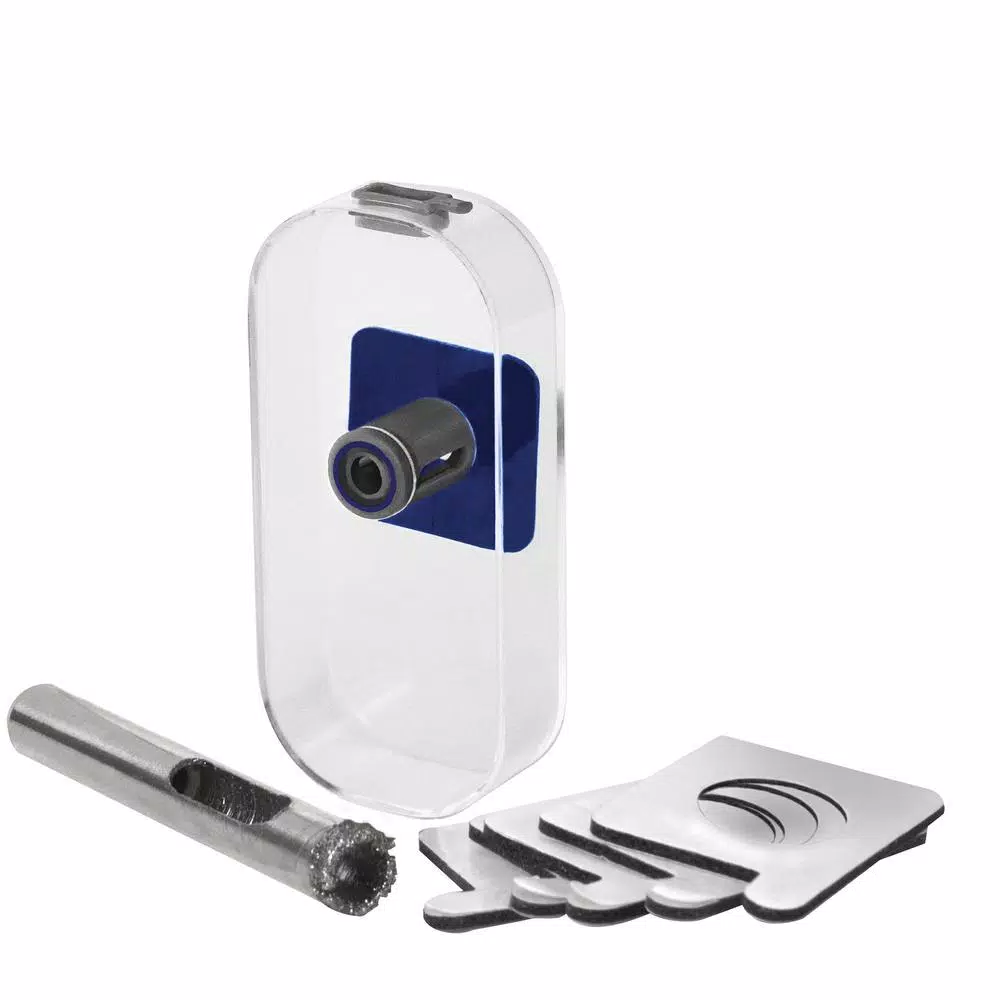
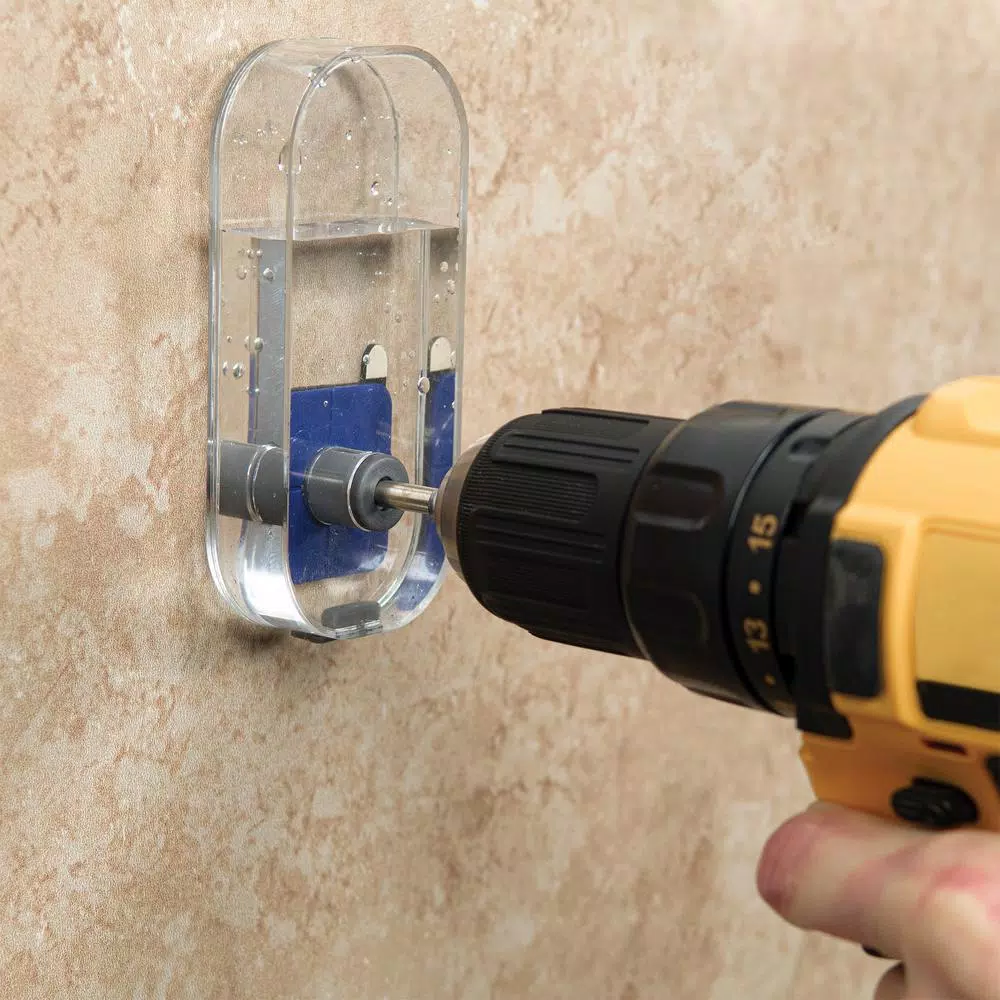
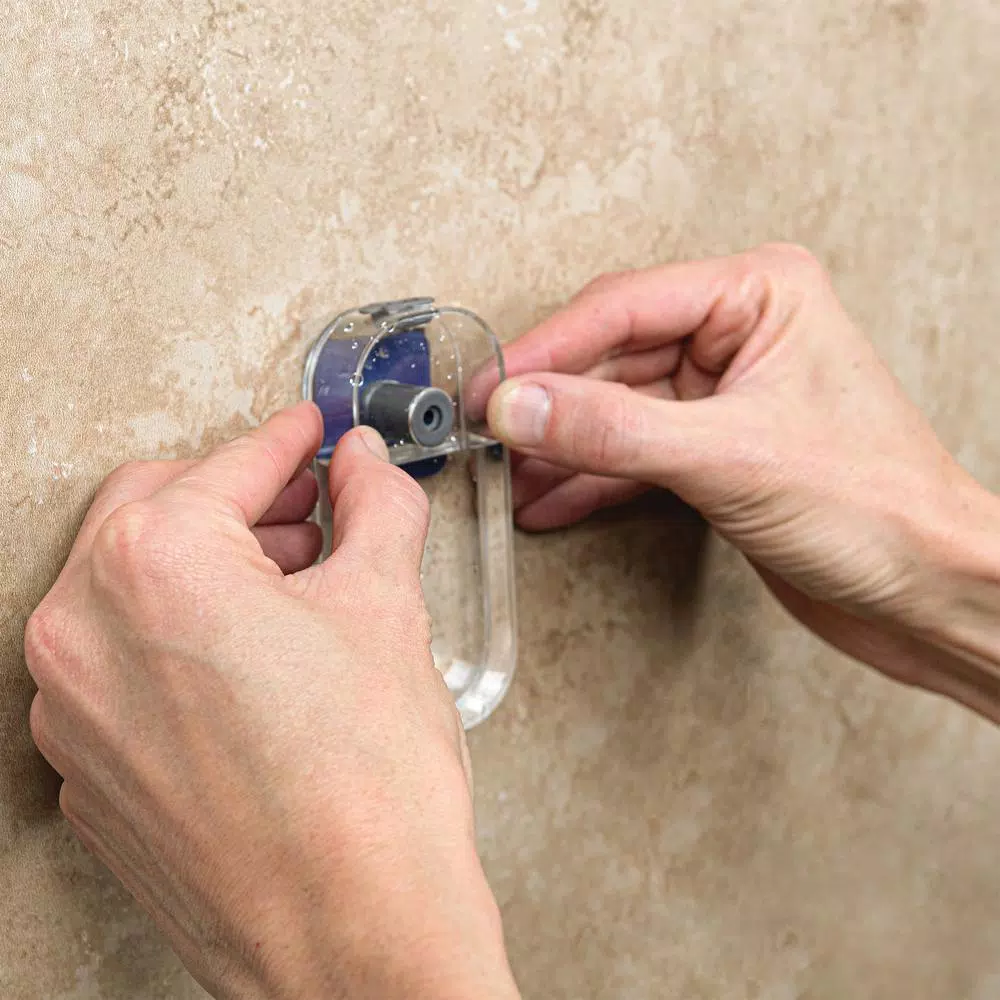
Use the QEP 5/16 in. Diamond Hole Saw Kit to drill holes for bathroom pipes on various tile surfaces. In addition to the hole saw, the kit contains adhesive pads, a water cooling system and drill guide. This hole saw must be used with the water system to keep it from overheating and must be used with a cordless drill.
- Drills 5/16 in. holes in ceramic, glass, marble, porcelain and granite
- Tough, diamond grit cutting edge for long lasting use, limited wear, faster cuts, less dust and less chipping
- Water cooling system keeps hole saw cool for a longer life
- Convenient, single piece water delivery system
- Kit includes 6 adhesive pads, water cooling system, drill guide and drill bit
- Only for wet use with cordless drills
- Easy to clean by rinsing with hose or in clean water after each use
WARNING: This product can expose you to chemicals including arsenic, which is known to the State of California to cause cancer. For more information, go to www.P65Warnings.ca.gov
Additional information
| Weight | 0.11 lbs |
|---|---|
| Dimensions | 1.10 × 4.50 × 9.40 in |
| Blade Length (in.) | 0.3125 in |
| Blade Material | Steel |
| Blade Width (in.) | 2 |
| Hand Tool Type | Blade |
| Individual/Set | Individual |
| Model | 10571 |
| Number of Pieces | 1 |
| Product Length (in.) | 0.75 in |
| Replacement Blade Type | Fixed Blade |
| Teeth Per Inch | 0 |
| Tools Product Type | Power Tool |
Reviews (68)
68 reviews for QEP 5/16 in. Diamond Hole Saw with Water Delivery System
Only logged in customers who have purchased this product may leave a review.
Related products
Knives & Blades
Model# 11-931AKnives & Blades
Milwaukee General Purpose Utility Blades with Dispenser (100-Piece)
Model# 48-22-1900Knives & Blades
Model# DWHT20552Knives & Blades
QEP 8 in. Carbon Steel Replacement Blades for Floor Scraper and Striper (3-Pack)
Model# 62904QKnives & Blades
Model# 10-189CKnives & Blades
Model# 11-301LKnives & Blades
DEWALT 10 in. 18, 24 and 32-TPI Bi-Metal Hacksaw Blade (3-Pack)
Model# DWHT20555Knives & Blades
Milwaukee 18 mm Snap-Off Knife with Metal Lock and Precision Cut Blade
Model# 48-22-1961


Rod Ratke (verified owner) –
The bit worked well. I was able to drill 8 perfectly on-center holes through porcelain tile/rock-board to the studs below. You have to know how to use it. The water system that attaches to the wall is fairly easy to assemble. Read the instructions before you tear the package apart. I only used the water assembly as a guide and to make the initial cut 1/8″ deep to get the groove. Keep pouring water in the top while drilling and it will fill up as you cut. I filled up twice to make the initial cut and the bit will scoop the extra water out and leak through the front. It will leak out the bit so make sure you have a towel underneath to catch the overflow. I removed the assembly (groove was cut), and continued on drilling using a spray bottle to cool the bit. Moderately slow and steady is the key along with slightly rotating the bit/drill as it goes in (tornado). I used an electric drill instead of a cordless as recommended by the manufacturer. If you’re in a hurry and your hair is on fire, don’t bother…you’ll just destroy the bit in short time. Just keep the RPMs down and spray as you drill and be patient. After the fourth hole, I reversed the drill for a couple minutes. This seemed to help the cutting edge for subsequent holes. Keep the bit clear of debris. At times the core will mound and prevent the bit from contacting the intended surface. Remove the bit, tap the back end of a drill bit inside the diamond bit to clear the obstruction and all will be fine. I think this bit is good for at least another 8 holes if I needed it.
Craig Buckridge (verified owner) –
I had to put in anchors to hold a pedestal sink against the wall. the pedestal holds the weight and the anchors keep it from tipping. this worked well and so fast i was done in no time. the hole was clean and precise.
Dagmar Jacobi (verified owner) –
The drill bit was fine and the lubrication/cooling system is good in theory but not in practice. Before I could start the drill the water had all but dripped from the supply container to the catch container. Also as soon as I started the drill the container lubrication system started to spin with the drill bit.I was able to successfully drill 4 holes in porcelin tile, taking my time and using a spray bottle to lubricate and cool. It takes time since I was taught the harder the material the slower you drill. I stopped frequently to spray debris out of the hole and to dunk the drill bit.The bit worked fine water system was worthless.I would recommend only to get the drill bit if there were no others without the cooling system.
Laurianne Reynolds (verified owner) –
Bought this to drill tile to mount a grab bar in the shower. I followed the directions exactly and found that the tape would not hold the guide in place when I started drilling. It is necessary to use the tape and also hold the guide. Be sure the wall is totally dry or the tape will not hold at all. Although it is difficult to use, it is nearly impossible to drill a hole in ceramic tile without a guide I tried that also but the bit dances across the tile, so you need the guide. It would be easier for two people one to hold the guide and one to drill the hole. Additionally, each piece was only good for one hole.
Adella Gorczany (verified owner) –
I did not have much faith in this product until I used it I cannot believe how easy and great it worked.
Moriah Blick (verified owner) –
Not sure why the negative reviews on this. Used it to drill four holes for a shower curtain rod without a hitch. Be patient, go slow, make sure your surfaces are clean and dry so the adhesive sticks and you’ll have a gold result, too.
Everett Bruen (verified owner) –
Works great, only wish I could buy more adhesive packs separately
Maynard Ritchie (verified owner) –
I used this to install some hangers on a tile backsplash. Know that this only comes with 8 stickers/tape strips, so you may need more than 1 kit if you will be making more than 8 holes. If it came with more, it wouldn’t make much difference. The plastic water receptacle is pretty flimsy and won’t last much longer than 8 uses. That’s okay, based upon the price. Buying it, though, consider it a bit disposable and you’ll be fine.
Carlo Strosin (verified owner) –
The packaging claim that you can have a hole in 30 seconds is no joke… that’s about how long it took.I had spent at least 15 minutes grinding away with a 5/16 carbide tile bit (junk!) and only was about a third of the way through the tile. With 5 more holes to drill for my shower doors I decided to run back out and pick up one of these.It really does blast a hole in 30 seconds or less. Rather than grind away all of the material in the hole, it uses a diamond ring to bore out a “plug”. When it gets all the way through, the center of the plug breaks free and you have a complete 5/16 hole. Pretty smart.There are a few flaws worth noting though: 1) The adhesive pads that hold the cutting guide in place are JUNK. If they get wet they break free… and this tool operates with a steady supply of water dripping on it. 2) The water reservoir contraption is fussy and awkward. I found it much easier to use a spray bottle in my left hand and just keep the bit wet. 3) The plugs I mentioned earlier tend to jam up in the center of the bit. They’re real hard to push out or break free, and if you get too many of them in there it stops cutting plugs. I used a small carbide tile bit to bore out the inside of the bit between holes. Annoying, but effective.
Juliana Schneider (verified owner) –
Bought this to to use on porcelain tile (to finish a center guide hole that my existing 1 3/8 inch dry bit WITH integrated center guide I had previously worn out). It worked as expected but you need to take care to position over center of your intended hole – I was nervous it would move or “walk” as this is a hollow bit vs a conventional bit with a true center tip. I also note that after 2 uses the foam-ish rubber gasket on the water “delivery system” was compromised/torn. In the end it did what I needed it to do and that was essentially finish my pilot to use my older 1 3/8″ bit. I also bought the QEP 1 3/8 in diamond hole saw bit (with “water delivery system” aka cup) and used that for a subsequent hole. That too worked decently (on uninstalled tile – horizontal only as the cup needs to hold water) but AGAIN care needs to be taken to position over CENTER – if you are particular like me!
Issac Dibbert (verified owner) –
I purchased the diamond hole saw to drill eight holes through porcelain tile to install shower doors. It met my expectations, and I was completely satisfied with its performance. I believe that eight to ten holes is about the life of the hole saw, but for the price it performed well.
Rodolfo Wilderman (verified owner) –
Excellent
Dandre Hill (verified owner) –
This unit is a little tricky to make work, but is FAR better than trying to use a carbide bit on Porcelain tiles. For the money, you can’t beat it! A few comments:- Be careful opening the package – the directions on the back are small, hard to read, and easy to destroy when opening.- There are 3 small holes in the upper container that drip water over the bit. 3 was too many – the water drained out in about 15 seconds! I covered one hole with black tape, and 2 was about right.- You can expect to need about 2 re-fills of the top container before you complete 1 hole in 3/8″ porcelain tile. Of course, you have to figure out how to get the water out of the bottom container! I drilled a 1/16″ hole in the bottom, and just let the water drizzle onto a towel below.- Skip the square plastic retainer that goes between the upper & lower containers. It just makes it harder to get the upper container put in place (meanwhile your water is dripping out!). It doesn’t really serve any purpose.- Drill slowly with even pressure – think grinding, not drilling.- Be careful removing the containers from the tile when you’re done – the adhesive is very sticky, and you might break the container!- I drilled 6 holes, and the diamond abrasive felt just as sharp when I was done as when I started.
Eddie Price (verified owner) –
Work great on my bathroom tile.
Idella Kshlerin (verified owner) –
Worked great for a few holes and then was not so great.
Marlee Barton (verified owner) –
We bought the bit to drill holes in ceramic bath tile to attach shower curtain rod but they kept breaking. Could be an issue with our drill but we have yet to find the proper bit. Doing 50 rooms so it’s been a pain.
Santa Murray (verified owner) –
Good drill did not overheat as long as the material drilling was kept wet. Excellent
Kaci McDermott (verified owner) –
It does the job but it wont last pass. Plastic case cracks after some usage.
Westley Bradtke (verified owner) –
Worked good with clean holes. They need to include more double sided tape. The flow of water between the upper and lower containers is a bit fast. I had my wife pour water in at a slower rate.
Russell Smitham (verified owner) –
I used a water bottle to keep a constant flow onto the bit and it cut 6 holes, unfortunately I had to buy another bit for the remaining 2 holes.