QEP 1/4 in. Diamond Hole Saw with Water Delivery System
$14.78
Complete your tile installing work perfectly and professionally with the assistance of this amazing QEP 1/ Diamond Hole Saw with Water Delivery System.
In stock
Description
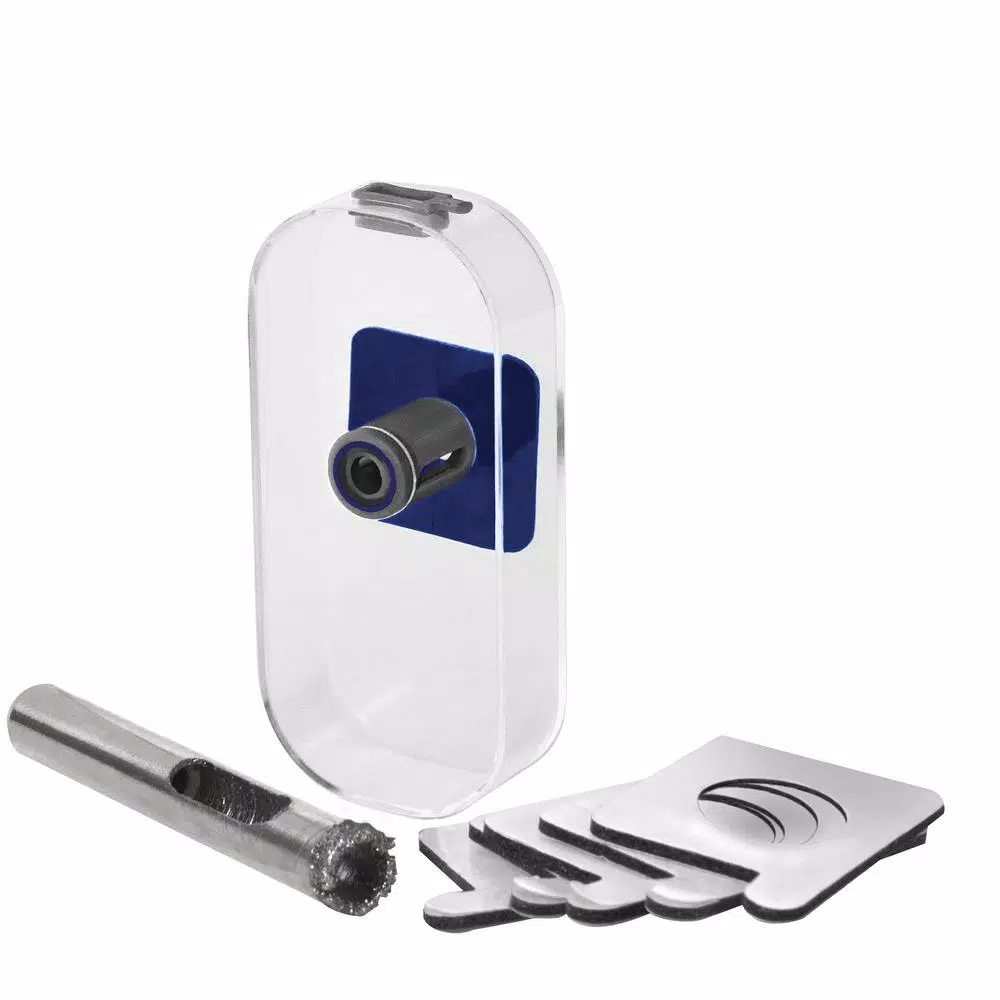
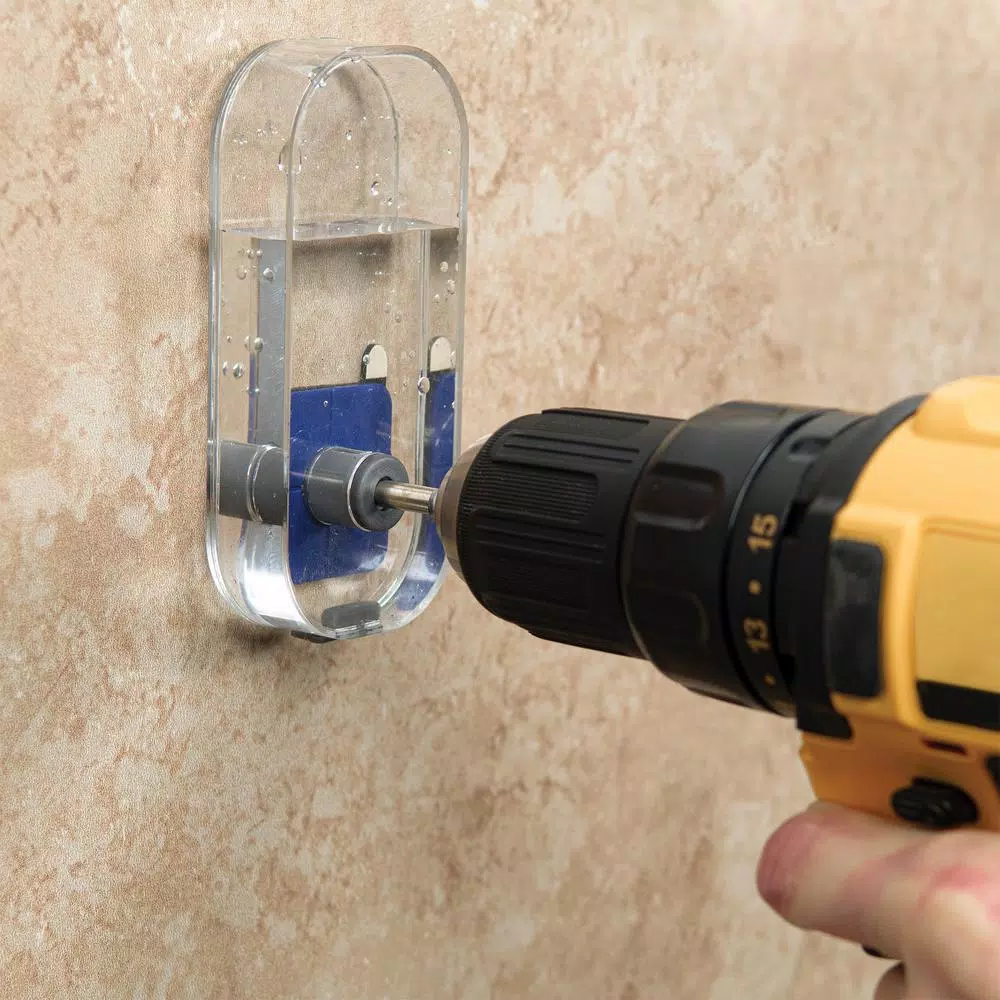
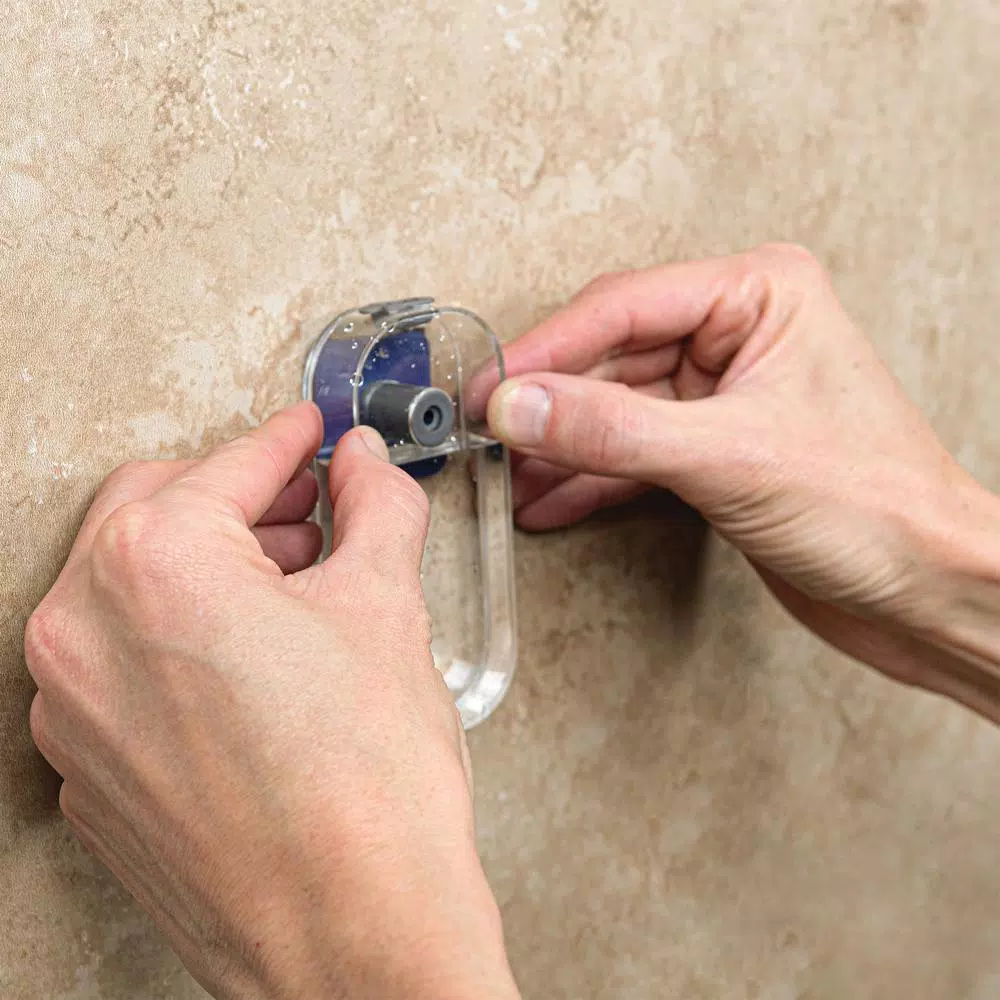
Use the QEP 1/4 in. Diamond Hole Saw Kit to drill holes when installing bathroom fixtures on various tile surfaces. In addition to the hole saw, the kit contains adhesive pads, a water cooling system and drill guide. This hole saw must be used with the water system to keep it from overheating and must be used with a cordless drill.
- Drills 1/4 in. holes in ceramic, glass, marble, porcelain and granite
- Tough, diamond grit cutting edge for long lasting use, limited wear, faster cuts, less dust and less chipping
- Water cooling system keeps hole saw cool for a longer life
- Convenient, single piece water delivery system
- Kit includes 6 adhesive pads, water cooling system, drill guide and drill bit
- Only for wet use with cordless drills
- Easy to clean by rinsing with hose or in clean water after each use
WARNING: This product can expose you to chemicals including arsenic, which is known to the State of California to cause cancer. For more information, go to www.P65Warnings.ca.gov
Additional information
| Weight | .11 lbs |
|---|---|
| Dimensions | 1.05 × 4.50 × 9.40 in |
| Blade Length (in.) | 0.25 in |
| Blade Material | Steel |
| Blade Width (in.) | 2 |
| Hand Tool Type | Blade |
| Individual/Set | Individual |
| Model | 10572 |
| Number of Pieces | 1 |
| Product Length (in.) | 0.75 in |
| Replacement Blade Type | Fixed Blade |
| Teeth Per Inch | 0 |
| Tools Product Type | Power Tool |
Reviews (88)
88 reviews for QEP 1/4 in. Diamond Hole Saw with Water Delivery System
Only logged in customers who have purchased this product may leave a review.
Related products
Knives & Blades
Klein Tools 6-1/2 in. Cable-Splicers Knife with 1-3/4 in. Blade
Model# 44200Knives & Blades
QEP 8 in. Carbon Steel Replacement Blades for Floor Scraper and Striper (3-Pack)
Model# 62904QKnives & Blades
Model# 84-519KKnives & Blades
Model# RK-7Knives & Blades
Model# 48036Knives & Blades
Model# 10-817Knives & Blades
Model# DWHT10045Knives & Blades
Model# DWHT11131


Damion Parisian (verified owner) –
Did what it needed to do but I had to re-set the plastic box a few times to keep the bit from walking to get a hole started. Take your time with these it’s not like drilling through wood!
Neal Kovacek (verified owner) –
First of all the little plastic containers are not designed well. I ended up using the lower container with the guide to start my hole. Just a few seconds made a dent in the tile enough to keep the bit from walking. For cooling I used a squirt bottle and kept squirting the bit as I drilled. It takes a fair amount of pressure, a slow drill speed and time. I drilled eight holes and the bit feels like it still has more life in it. This bit works fine, it just has to be used a certain way.
Cale Grady (verified owner) –
This kit was a life saver for me. I tried a quad tipped glass & tile bit but it wore down even before one hole was completed.I don’t know what the previous reviewer is saying about the adhesive pads and bit. I was able to re-use one pad for at least two holes. The key is using masking tape over and around the holes to be drilled. I think that helped the pads keep their adhesive intact and allowed me to re-use them. I was able to drill 8 holes in very hard porcelain tile with ease and the last was as easy as the first. The previous reviewer is right about the amount of holes in the upper reservoir though, taping them off is a good idea as it tends to drip quite quickly otherwise.Overall a great product and made quick work of the task at hand.
Evan Adams (verified owner) –
I drilled two holes and perhaps did not do a good job with the water and wore out the first bit. The second one has done much better. I drilled about 12 holes and took it very slow (at least 10 minutes per hole) and made sure the bit got lots of water. I frequently cleaned it out to make sure it was not plugged. The bit appears to still be in excellent condition. Make sure to use a low RPM drill — preferably a cordless drill. The adhesive mounting pads do not always stick well, but once you have the hole begun, the bit will not wander so if the adhesive stops working you just keep the water reservoir close to the tile with your hand. Make sure the hole in the bit is not clogged up.
Roslyn Lang (verified owner) –
Got the job done easily for a minimal $$
Jada Romaguera (verified owner) –
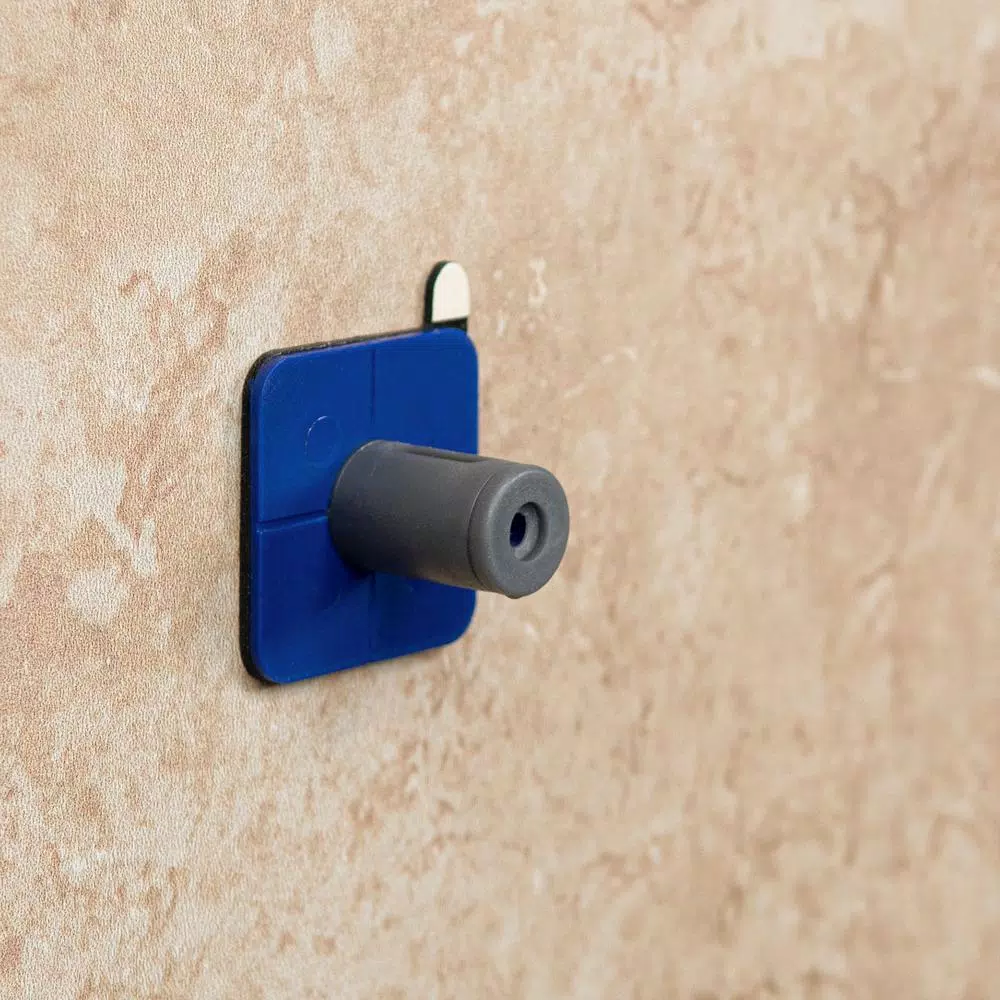
I drilled 8 holes through hard porcelain tile without problems. I was hesitant due to several negative reviews; however, the positive reviews encouraged me to try it. It stuck well to the wall; make sure the surfaces are dry before adhering. Also make sure the large end of the grey drill guide is against the wall; this prevents it from working its way out. I used a cordless drill on the slow setting. I didn’t plug any holes as some advised. I filled it a half dozen times for each hole making sure it didn’t run dry. A few times I touched the bit after drilling and found it cool. The bit could be a half inch longer. It was much easier and the results were much better than when I used a Dremel tool with a diamond bit. I’m very happy with the purchase. I’m guessing the negative reviewers didn’t use it properly.
Ludwig Prohaska (verified owner) –
i tried 4 different metal amd carbide bots on my porcelain tile. nothing worked until this product. like i said in the title, read the instructions. It comes wirh about 8 sticky pads so change one each hole so the water container stays in place. GO SLOW. i used a Bosch 18V cordless drill. set my drill speed to 1 and used about quarter to half trigger to get a nice slow drilling. you will hear and feel and slow grinding of the tile. thats what you want. if you go fast like you’re drilling wood or metal you will ruin the bit. i did 12 holes with one bit and it still works fine. took about 5 min per hole.
Okey Metz (verified owner) –
everything was very easy and there were no problems with instalation
Destany Jaskolski (verified owner) –
Anyone that burned theirs out on 1 hole did not read the directions or other people’s reviews. You need to start the drilling with the bit against the wall, use a very slow speed with very little pressure, keep water going & stop every 15-20 seconds to let it cool off (I dipped the bit in the water for a few seconds to cool it off). Also, you must clean out the bit frequently (use a long thin nail if you have one). The pieces of wet tile clog up the hole & it stops working, burning out the bit. I found it helpful to cover 2 of the 3 water holes because water was pouring through too quickly. I did 8 holes in very thick porcelain tiles & mine still has some bite left. Worth it for what I needed it for.
Omari Pouros (verified owner) –
Got the job done easily for a minimal $$
Orie Nitzsche (verified owner) –
Easy to use and went through wall tile like butter.
Daisy Rath (verified owner) –
Was able to install all of the bathroom fixtures onto the porcelain walls with the one bit. It worked OK but is not that easy to use.!
Omer Hartmann (verified owner) –
One of very few products that will drill Priceline tile
Brook Kling (verified owner) –
wooks great if you use a hammer drill, empolyee used red drill on the first bits and it melted. this was the second bit that I bought
Mavis Schumm (verified owner) –
When I first saw the drill kit, I did not believe it could provide enough moisture to drill the holes in my new tile walls, but was proven wrong. The drill bit and water box helped to drill holes for my assist bars, towel bars and hand held shower head quickly.
Leann Robel (verified owner) –
I just drilled 6 holes in my shower tile for a handle and this product worked great. I read other reviews and heeded their advice:* Cover 2 of the 3 water holes so that the Water Delivery cup doesn’t drain too fast* Take your time. Use a cordless drill at a moderate speed and use light pressure* Apply pressure for 5 seconds and pull the bit back into the water stream for 3 seconds to clean and cool it off. Repeat through the whole process* When the Water Delivery cup is close to being empty, stop drilling and gently remove any gunk in the hollowed out portion of the drill bit with a thin nail. I dunked and spun my bit in a separate water container to clean it up* Have a large cup full of water nearby to replenish the Water Delivery cup* Watch the Water Delivery cup the whole time you are drilling to see it go empty* You can reuse the Mounting Tape once if you carefully pull it from the wall (vs. from the Water Collection cup). I blew on the sticky side to get off any water.* Put a large towel underneath your work to keep it from getting too much water and tile shavingsI used a small Sharpie to mark my holes. The marks didn’t completely come off when they got wet when drilling nearby holes.After drilling the 6 holes, my bit still has some use left in it. If you take your time, you will have the same results.
Celine Yundt (verified owner) –
The bit made nice clean holesf in floor tile.The negative is that you need to keep a cup of water to keep dipping the bit in, so it didn’t overheat because the kit did not work for cooling the bit
Ashlynn Kautzer (verified owner) –
Water went out too fast!
Shayna Quigley (verified owner) –
I bought this because I needed to install my over the range microwave and the wall is tiled. I used the bit as shown in the pictures and it worked great. It made 1/4″ holes, just the right size for my lag bolt. Something to keep in mind as you are using this product is that the tube gets filled with debris and it needs to be cleaned out to allow it to function properly.
Federico Armstrong (verified owner) –
This thing was so awesome and worked perfectly. I would definitely recommend this and i would buy it again if needed it. The water tank system is slick and works great. I have it for 2 months and used it to drill 4 holes.in ceramic tyle to hang my curtain rod.